

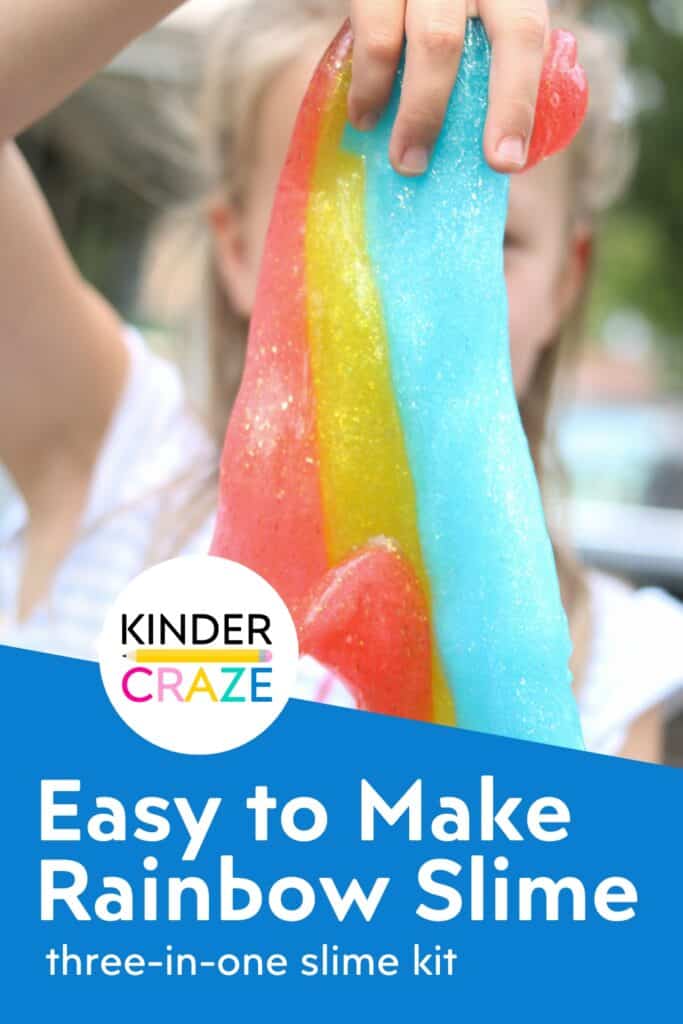
Have your kids joined the slime craze? Slime has become the rage with children across all ages, which is just fine by me because it’s a nice distraction from electronic devices. After creating mess-free glitter slime earlier this summer, my little helpers joined me once again for another round of slime-y goodness. This time, we decided to try out the new Rainbow Slime Starter Pack from Elmer’s, along with Elmer’s Magical Liquid, which instantly turns glue into slime. We had a blast making three different batches of slime (which we combined to create rainbow slime) and I can’t wait to fill you in on the fun.
Thank you to Elmer’s for sponsoring this blog post. I received compensation and free product from Elmer’s in exchange for writing this post. All opinions are my own and I only support brands and products that I use and absolutely LOVE. This post also contains affiliate links. I receive a small commission when someone makes a purchase through one of my links, which helps to support the blog.
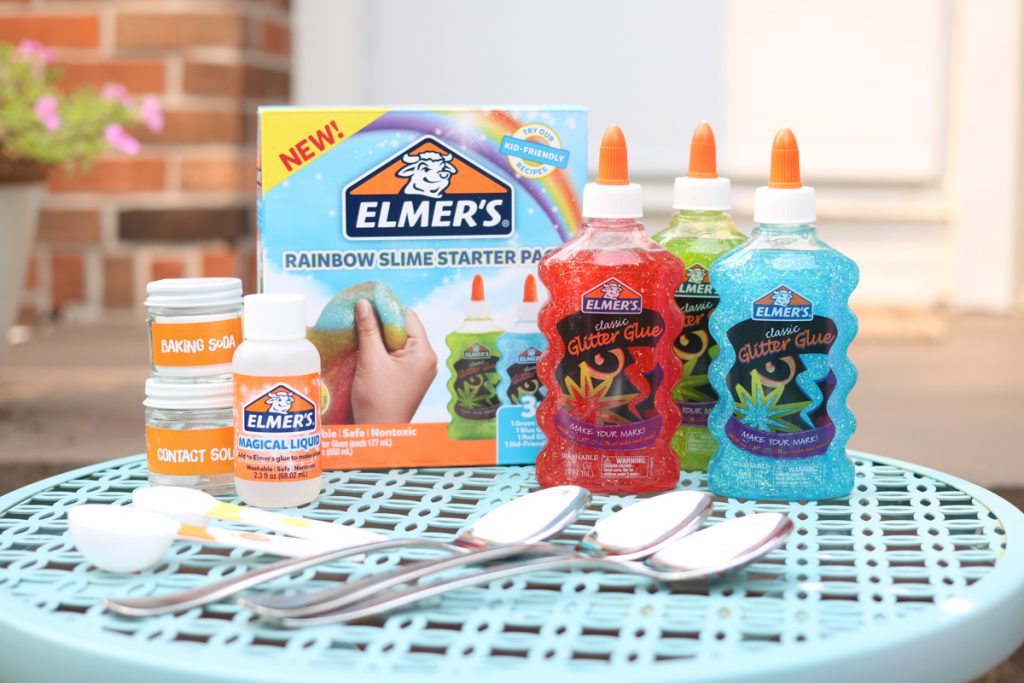
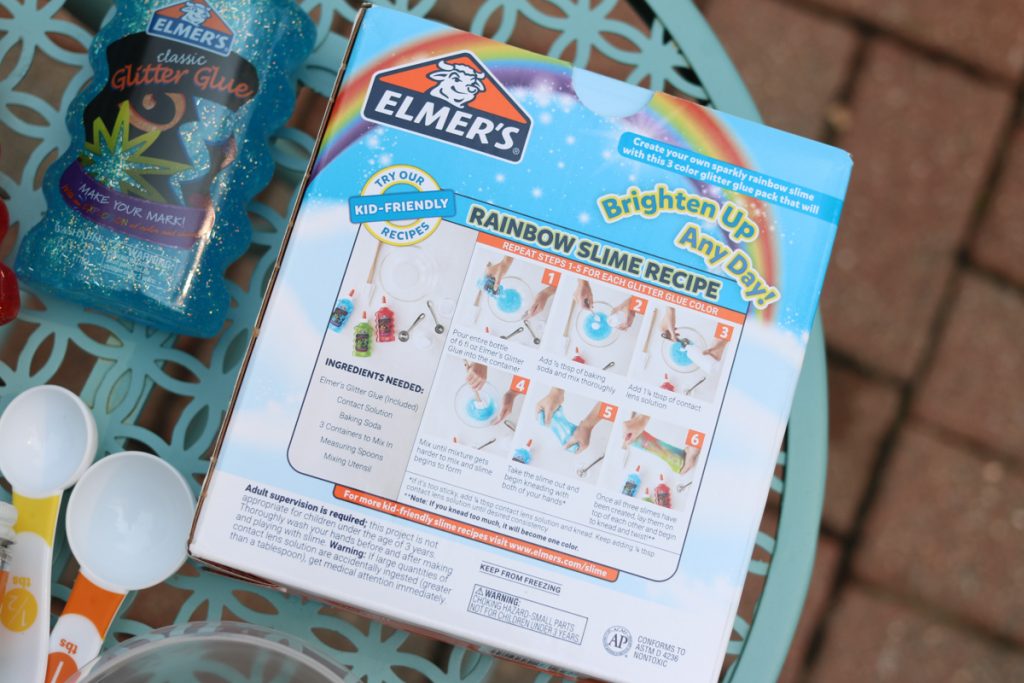
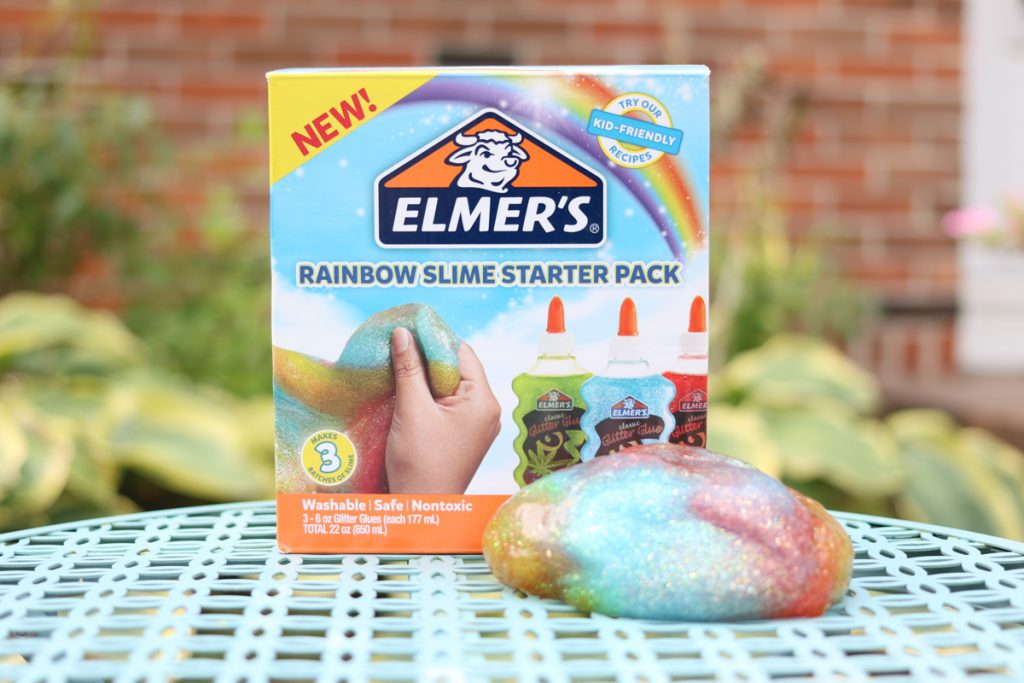
As soon as they arrived, my young helpers couldn’t wait to dig in to the Elmer’s Rainbow Slime Starter Pack. Elmer’s is a trusted name at home and in my kindergarten classroom so I was excited to mix another batch of slime using their colorful Glitter Glue. The kit came with three bottles of Elmer’s Glitter Glue and an easy to follow recipe printed right on the box. We also had to gather a few additional basic supplies: contact lens solution, baking soda, three mixing bowls and spoons, plus measuring spoons.
(I wasn’t a fan of using my good kitchen bowls and spoons to mix glue and contact lens solution, so I purchased cheap materials from my local dollar store. You may want to do the same!)
Once the supplies were gathered, we were ready to get our slime on! We followed the super-simple to follow directions. The first step was to empty two bottles of Elmer’s glitter glue into mixing bowls. (We saved the third bottle for Elmer’s Magical Liquid … keep reading to find out what made it magical!) It took some serious squeezing to completely empty the bottles, which was a great form of fine motor practice.

Once all the glue was squeezed into our mixing bowls, we followed the instructions and added 1/2 tablespoon of baking soda to each bowl of glue and it was time to start mixing!
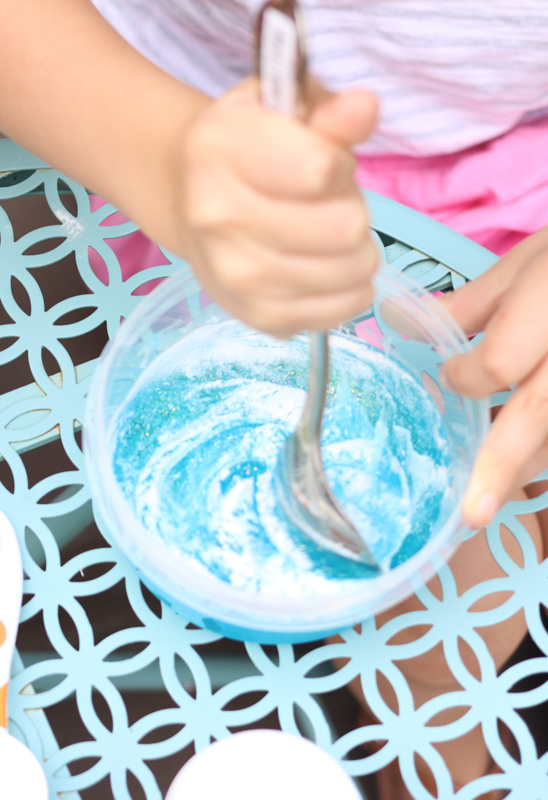
After stirring in the baking soda, the girls checked the status of their mixture. No slime yet – just two bowls of slightly thicker than usual glue.
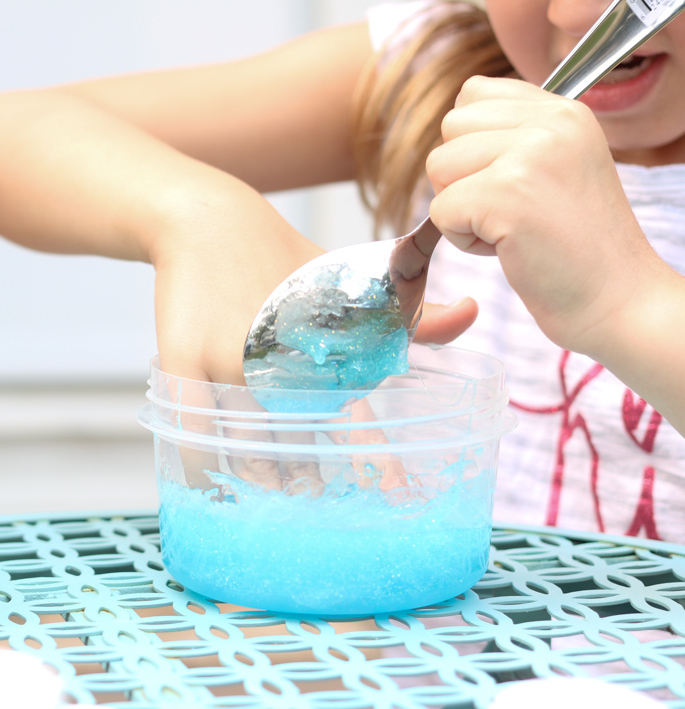
We followed the kid-friendly directions and added 1 1/4 tablespoons of contact solution, which really made things interesting. The slime was beginning to form and got pretty difficult to stir. (Note that it doesn’t matter which brand of contact solution you use – as long as it contains boric acid and sodium borate.)

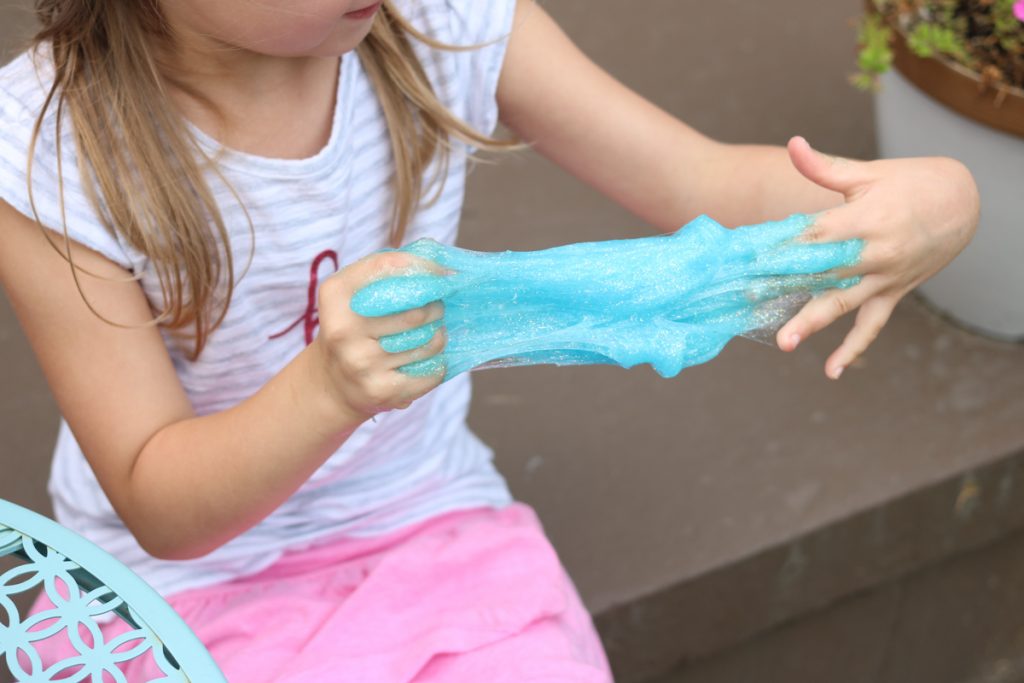
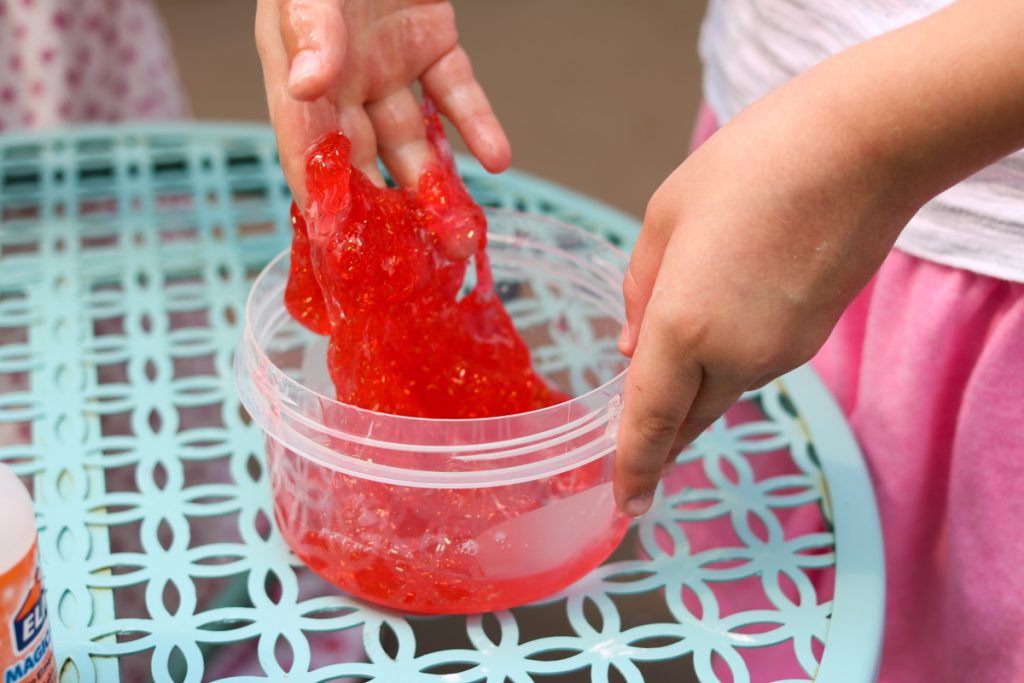
At this point, there was no other choice but to get their hands a little bit messy, which is great when you’re a kid! The girls used their hands to transform their mixtures from a sticky mess and into slime.
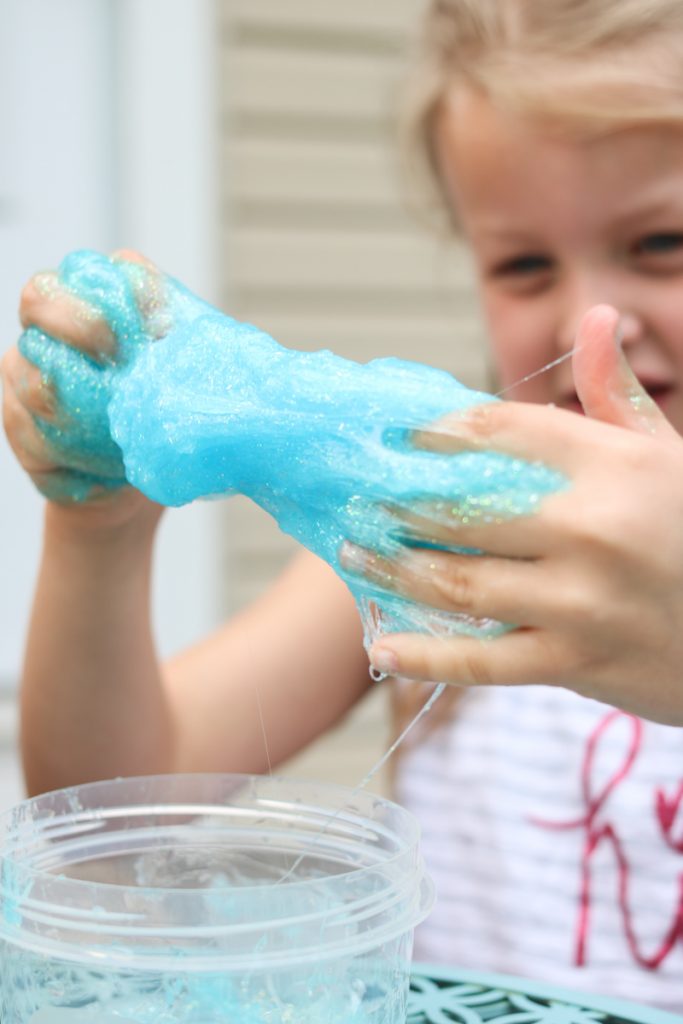
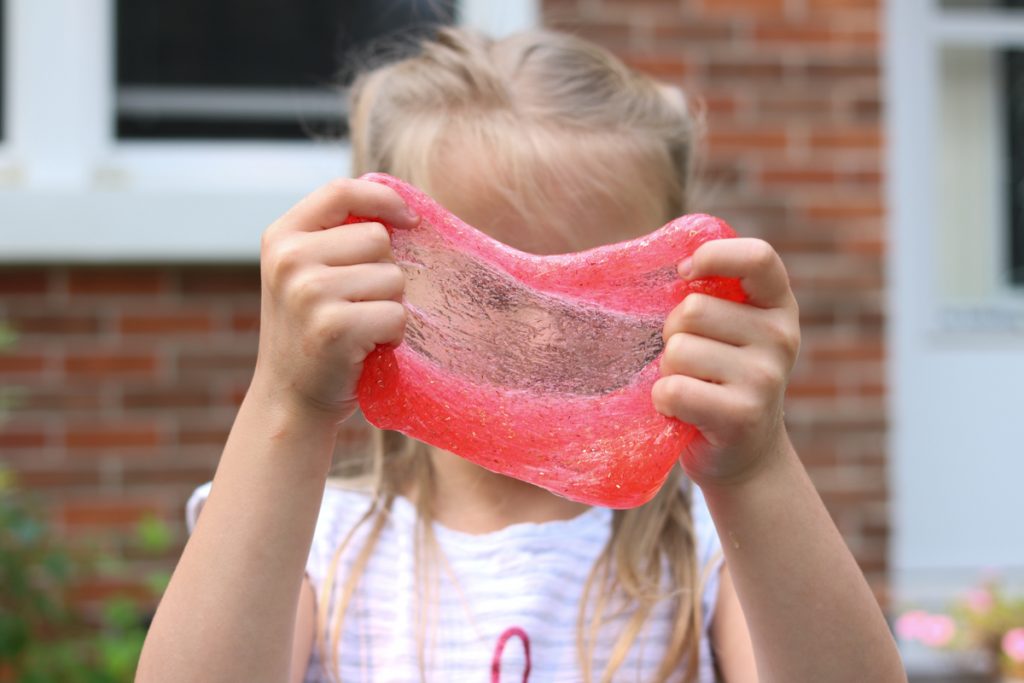
It took a little kneading, but the slime came together right in their hands.
We still had one batch of slime to complete to make rainbow slime. This time the girls worked together and we decided to try out Elmer’s new Magical Liquid.
Our slime creation began the same as any other batch: by squeezing a bottle of glitter glue into a bowl.
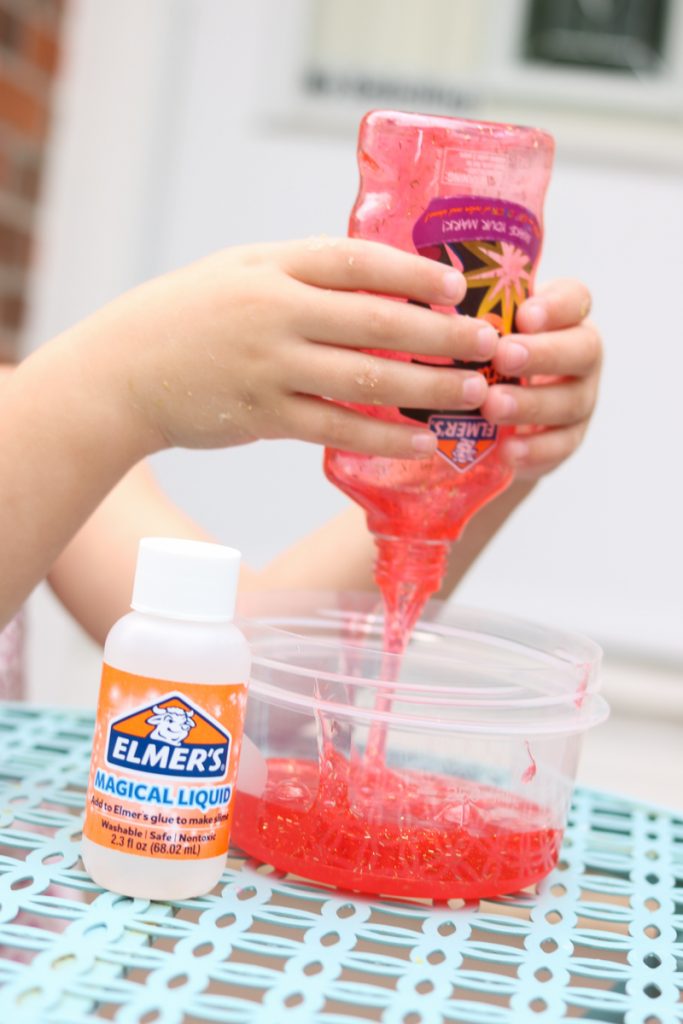
The nice thing about Elmer’s Magical Liquid was that there was no measuring, worrying about proportions, or reading contact lens solution ingredients. Each bottle of Magical Liquid is a premeasured, perfect amount to mix with one 6 ounce bottle of glue. The girls were very excited to see just how magical the liquid was.
The suspense was palpable as they dumped the Magical Liquid into the bowl of glue.

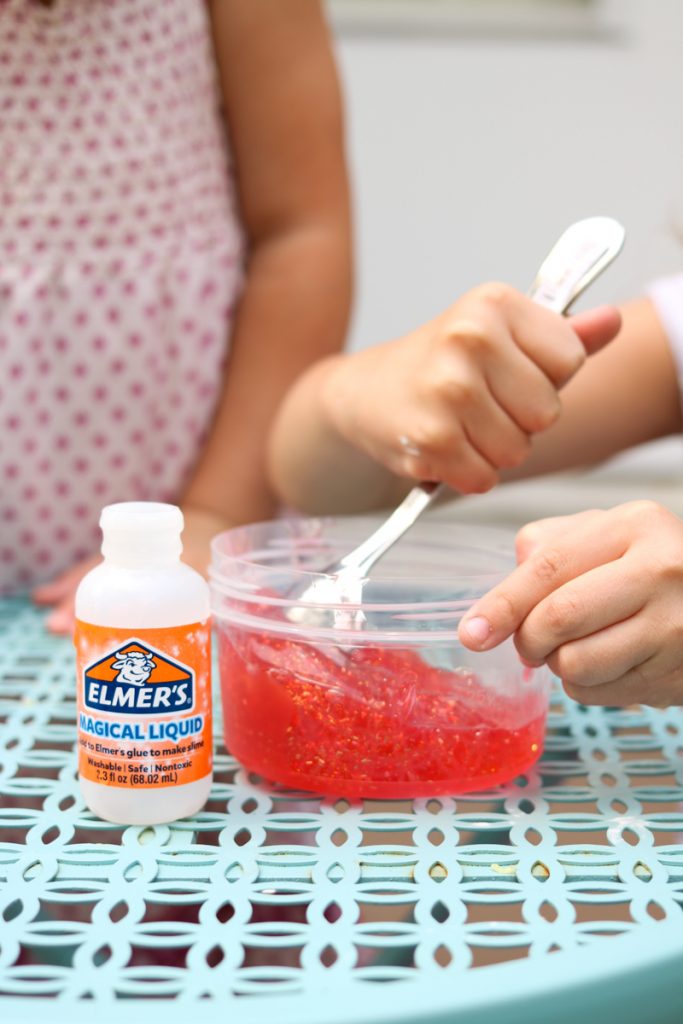
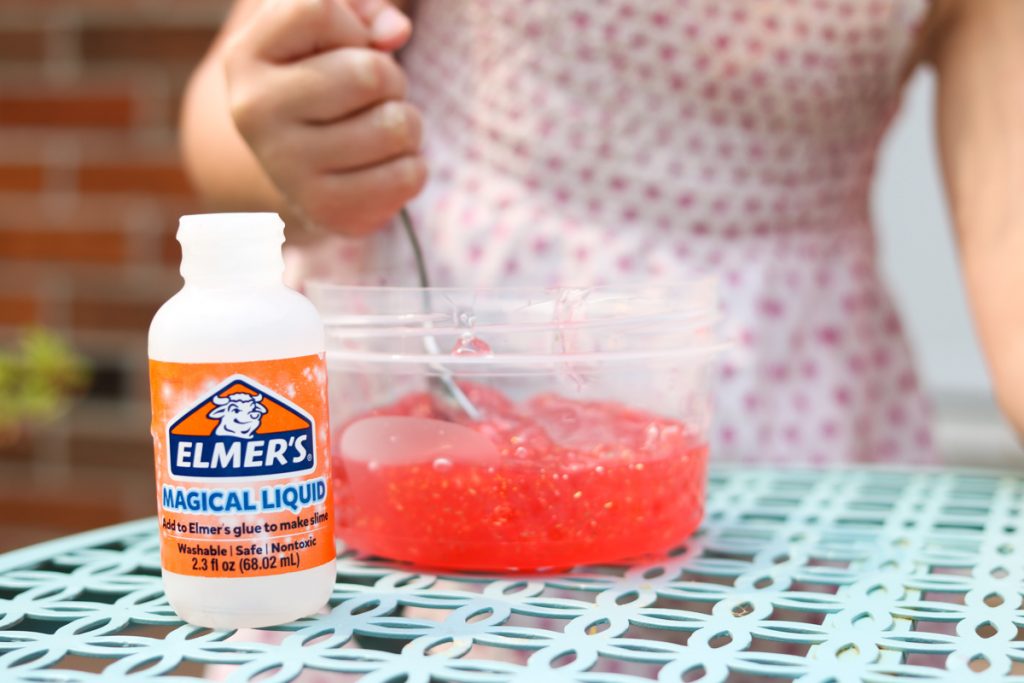
Then it was time to stir…
And get their hands a little messy.
Sure enough! The bottle of Elmer’s Magical Glue helped us easily create a perfect batch of slime.
Once we had our three small batches of slime, it was time to combine them to create rainbow slime, which truly tripled the fun!
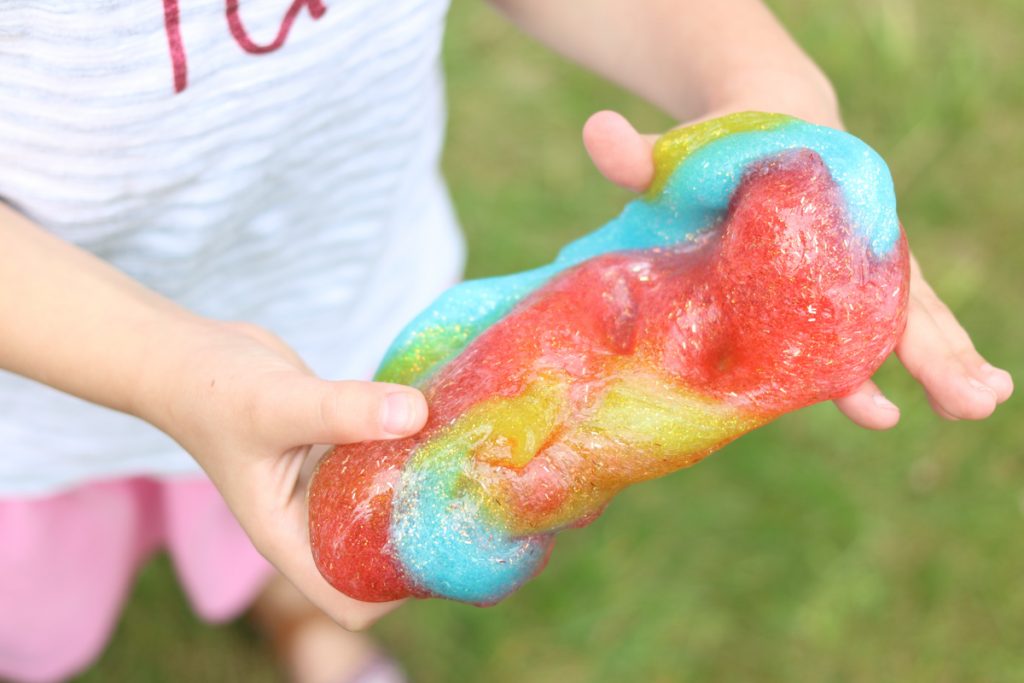
Once the rainbow slime was formed, the girls were completely captivated and lost in a world of slimy fun. Elmer’s truly made slime creation simple with their new slime kits and Magical Liquid. You can grab any of these materials at your local retailer that carries Elmer’s products or order one of Elmer’s slime kits on Amazon.
Thank you to Elmer’s for helping make slime creation easy and FUN! You can learn more about Elmer’s products and discover even more fun inspiration for kid’s crafts the Elmer’s website, as well as Instagram, Facebook, and Twitter.

I’m a former kindergarten teacher turned work-from-home mom. I still love sharing ideas and resources to make teaching easier, so you can focus on what really matters in the classroom. When I’m not working on the blog, you’ll find me chasing kids around the house with a cold cup of coffee in my hand (some things never change even once you’re out of the classroom!)


2 Responses
Sweet I use the magical liquid and it’s amazing