
I just can’t stop myself from adding new improvements to my classroom! This week I was at it again by giving my center for extra student supplies a fresh new look. I created what just might be the cutest-ever pails to hold classroom supplies.

I have a small shelf in the front of my classroom that I use to hold materials for the students to use. I keep the class table bins on this shelf when they are not in use as well as their folders that go home every day and a few extra sets of materials (scissors, markers, crayons, and pencils) that belong to me, but are sometimes shared with the students.
I previously stored these items in brightly colored boxes. The boxes worked because they were bright enough, but they were very flat and not particularly fun. Here is a “Before” picture of the shelf with my old baskets.
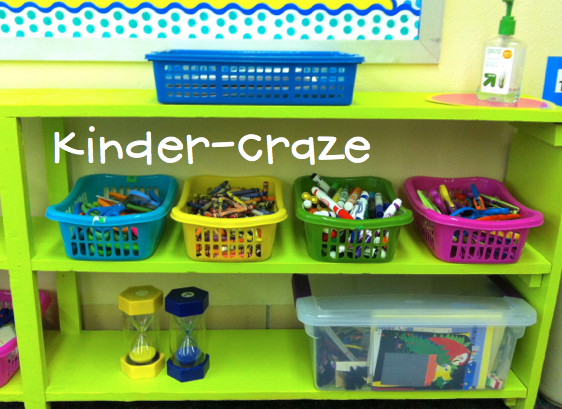
Despite my best efforts with the camera, my green shelf looks radio-active. It’s actually a very pleasant lime green.
Desperate to jazz things up, I purchased some clear plastic paint pails from Michaels for about $5 eachand a few sheets of adhesive vinyl from Jo-Anne’s. (I tried to find directly online links to these products for you, but was unsuccessful. My best advice is to ask an associate at Michael’s where the paint cans are. You can find sheets of vinyl for about $3 each in the scrapbooking aisle at Jo-Anne’s.)
One of my beloved classroom volunteers owns a Cricut and she took the vinyl home to cut for me. Then the real fun began- DECORATING! My friend Meggan and I had a crafty get-together and she helped me jazz up my supply buckets. The decorating process is pretty self explanatory: simply cut, peel, and stick the vinyl cutouts onto the plastic containers. (UPDATE: Since writing this blog post, I have purchased a Silhouette Cameo for classroom projects and it is perfect for projects like this!)
Planning and executing an effective method for placing the letters in a straight line that were properly centered on the bucket was a bit more complicated. I worked out a simple system for this task and I’ll walk you through the process.
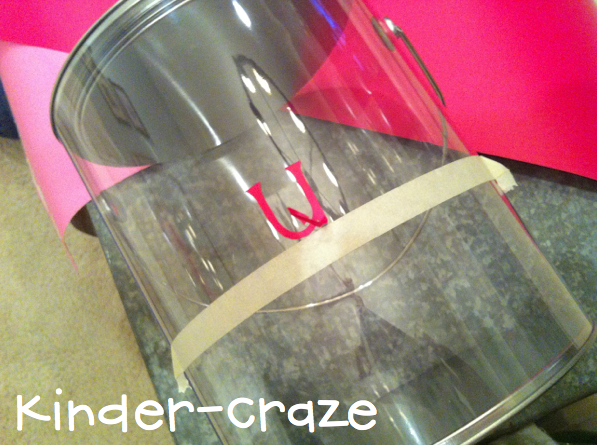
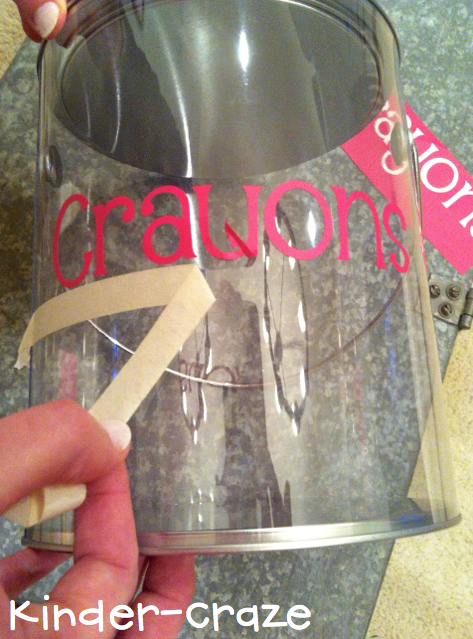
To begin, place a strip of tape on the bucket to be your guide for laying the letters in a straight line. Test the tape ahead of time in a discrete location on the bucket to be sure it won’t leave residue behind when you remove it.
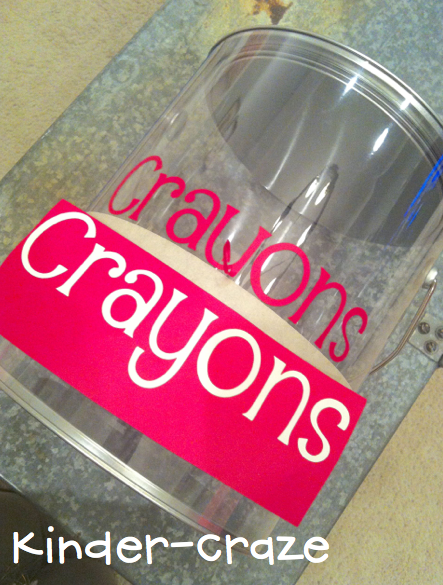
Next, select the letter from the MIDDLE of the word that you will be labeling on the bucket. This task is much easier if you start at the center of the bucket and work outward. You want to place the letter above the middle point of the strip (midway between the two paint handles). Use your best judgement to determine the center of the tape strip.
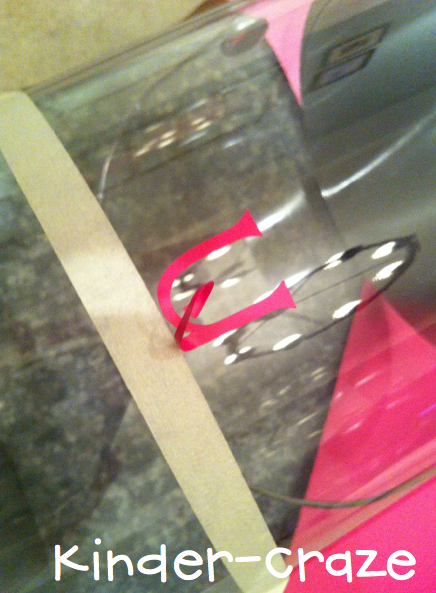
In this example, I am spelling the word Crayons. I didn’t want the bottom of the ‘y’ to stick to my tape guideline, so I gently curled the lower part of the ‘y’ up and let the sticky part hold it in place while I worked on the remaining letters. Here is a closer view.
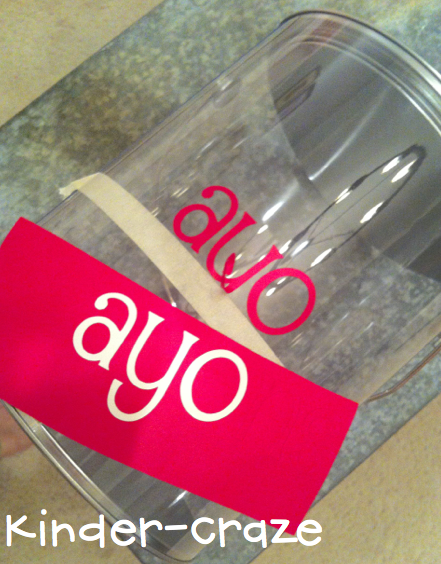
Add more letters, moving outward from the center of the word. Here, you can see a bit more of the word Crayons forming.
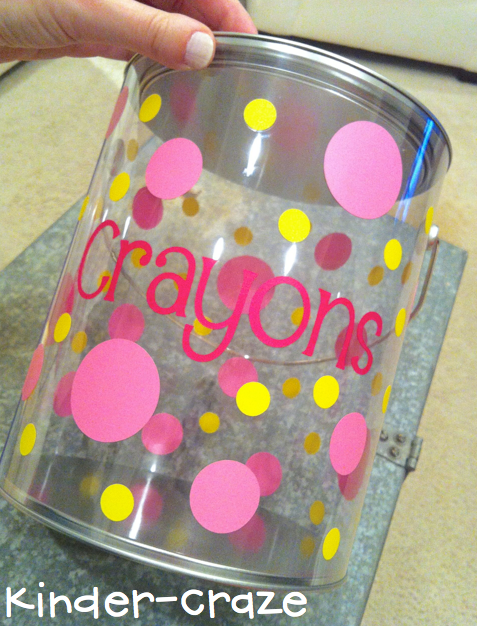
When the word is in place, gently remove the tape guideline. Uncurl any letters once the tape is removed.
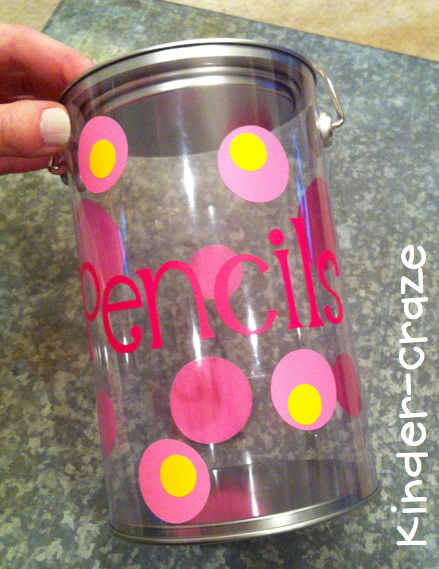
Add colorful dots to finish jazzing up your cute new storage bin.
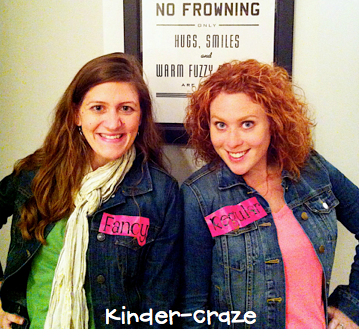
By the end of the night, Meggan and I were feeling a little silly. We used the vinyl scraps to label ourselves. As you can see, I am the fancy one 🙂 Meg’s label says “Regular.” It’s ok. I still love her!
But back to the cutest-ever supply pails…
They also carry smaller pails at Michaels that are tall and narrow. Perfect for storing pencils. We decorated this one with a different polka dot style.
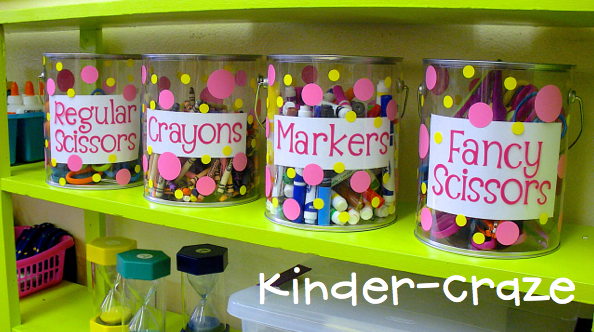
Here is the full set of finished supply pails. So stinkin’ cute!
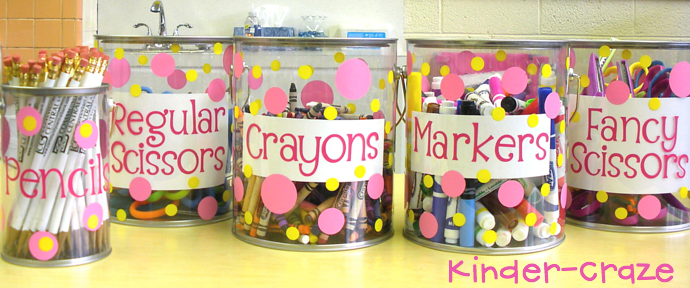
You may be wondering what the white background is in these photos. After I added the supplies, it became apparent that the inside of the pail looked kind of busy and the dark pink letters had lost their “pop”. I solved this issue by lining the inside of the buckets with trimmed sheets of white cardstock and taped them in place. Voila! The pails got their “pop” back!
Here is the “After” picture of the supply pails back on my lime green shelf:

I’m a former kindergarten teacher turned work-from-home mom. I still love sharing ideas and resources to make teaching easier, so you can focus on what really matters in the classroom. When I’m not working on the blog, you’ll find me chasing kids around the house with a cold cup of coffee in my hand (some things never change even once you’re out of the classroom!)


24 Responses
I soooo wish I had a parent or volunteer that owned a Cricut!!!! Those are adorable!!!
Debbie 🙂
K is for Kinderrific
Thanks Debbie. Thank goodness for parent volunteers! I would be lost without them!
What? What? OH.MY.GOODNESS! Maria you are AMAZING! Cutest pails EVER!
Thank you Melanie! Your blog inspires me!
Those are soooo cute!!
Terri
KinderKapers
thank you! I just love them!
Can I hire you!?
I WISH! I love doing this kind of stuff!
Oh my gosh! These are so cute!!!
Jordan
Team V’s First Grade Fun
Thank you Jordan!
love your page it so cute =)..im your newest follower drop by
justwildaboutteaching.blogspot.com
I am in LOVE with your page and ideas. The bright colors in your classroom just invite me in. So excited that I found you.
I really like your page. You have a lot of neat ideas for your classroom, and your attention to detail is AMAZING! Thank you for following:)
Super cute! You also could have cut around the vinyl where you cut out your letters and had a red (or was it pink) strip with clear letters cut out. (like the ones on your shirts in the fun picture). That way it might still pop on the can.
Super cute! FYI…best place ever to buy vinyl of all kinds…Expressionsvinyl.com! They are awesome and helpful and have a zillion different colors and kinds and they are way cheaper than our local big box stores!
LOVE, LOVE, LOVE these pails. What font is used for the lettering?
i would like to know which font did you used for those cuties?
These are adorable! I’m going to attempt to make these! Did you use the cricut to make the letters? I don’t have one but thought about just buying letter stickers
I used the Cricut for the letters but sticker letters would work too!
I also love the lime green shelf! Where did you get that?
The shelf was ugly brown and it was a random piece of furniture owned by the school (we are an old Catholic school with lots of random furniture). I just spray painted it to freshen the look.
Did you paint the shelf?
Hi Julie,
Yes, I spray painted the shelf 🙂