

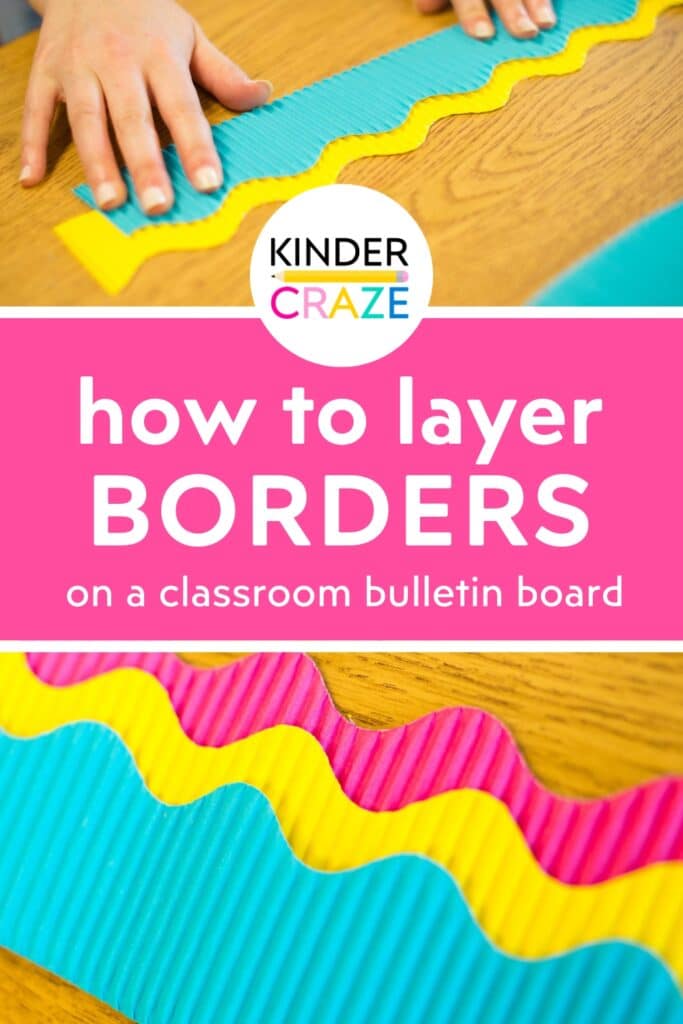
Do you love the look of layered borders on a classroom bulletin board but are stumped about how to get them just right? Did you try the “staple and tuck” method, only to end up with creases all over your beautiful borders? Today am thrilled to bring you a video AND photographic tutorial guiding you step-by-step as I show you how to layer bulletin board borders throughout your classroom without pulling your hair out in frustration.
This post contains affiliate links. I earn a small commission each time someone makes a purchase through one of my links, which helps to support the blog.
This tutorial contains photos and videos to deliver the most complete information for your needs. Watch the video and then scroll through the photos in the rest of this post. You will become an expert in creating crafting perfect layers for your bulletin board borders by the time you are finished.
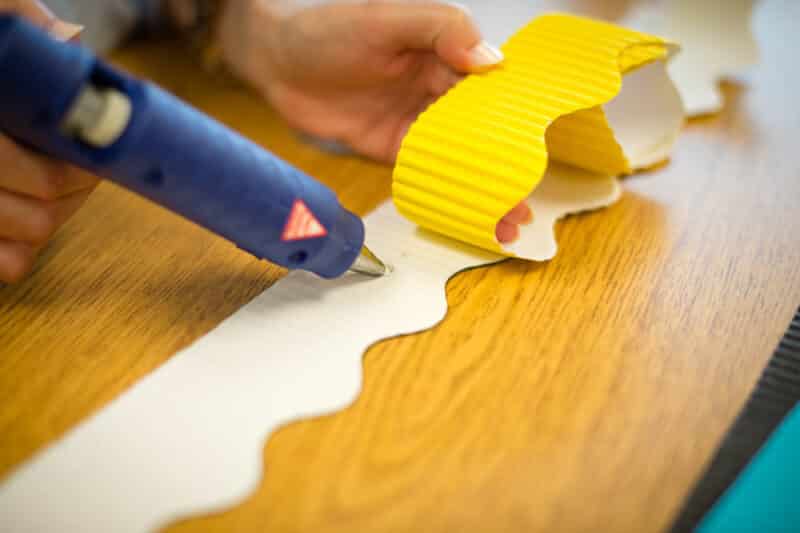
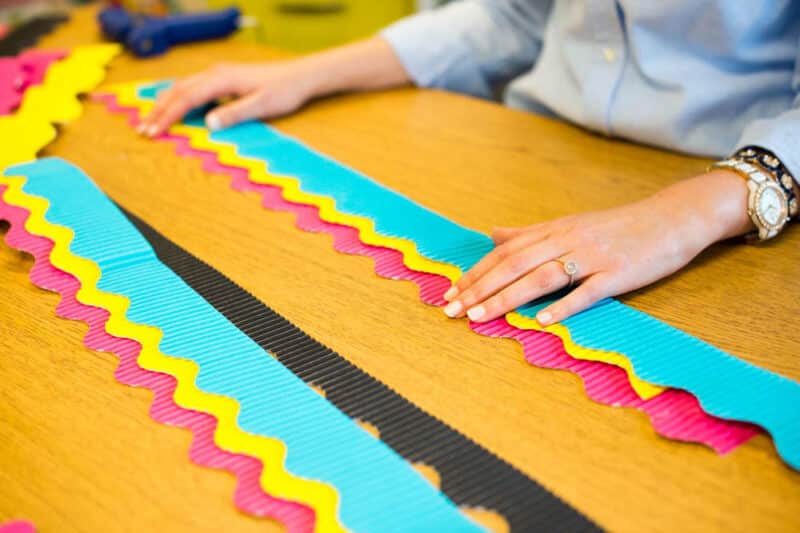
To begin, you will want to measure all of your classroom bulletin boards ahead of time and pre-cut the desired colors of border to fit each edge. Be sure to add an extra 6″ or so onto each strip that you cut. You want to have the extra space for lining up your scallops. Once you are ready, lift one edge of the top layer and place a thin line of hot glue on top of the bottom border. Don’t do the whole border. You are just setting this up and the little bit of hot glue will hold your positioning.

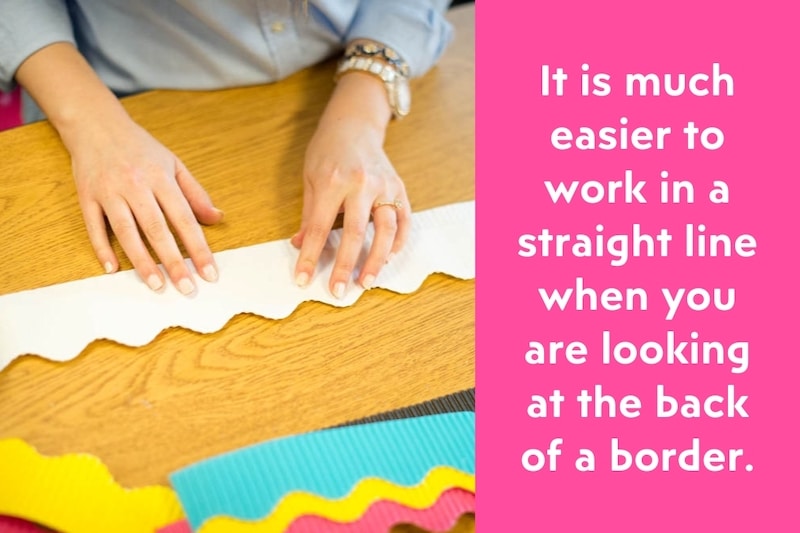
After a few of the stacked borders are glued in place, flip the entire strip over so you are looking at the back of the borders. Go ahead and lift the entire unglued portion up and place a thin layer of glue along the entire bottom layer then set the lifted piece on top of the glue, being careful to lay the top piece in a straight line.
I know a few people will probably wonder:
“Why on Earth is she flipping the border over? Wouldn’t it be easier to just glue the whole thing while looking at the top of the borders?”
Yes it is possible to do all of the gluing while looking at the colored side of the border. But something about the scallops plays tricks on your eyes and makes it more difficult to ensure that you are applying the top layer in a straight line. I have had far more success flipping the border over to apply the glue. Remember, the look we are trying to achieve is PERFECTLY SPACED LAYERS.
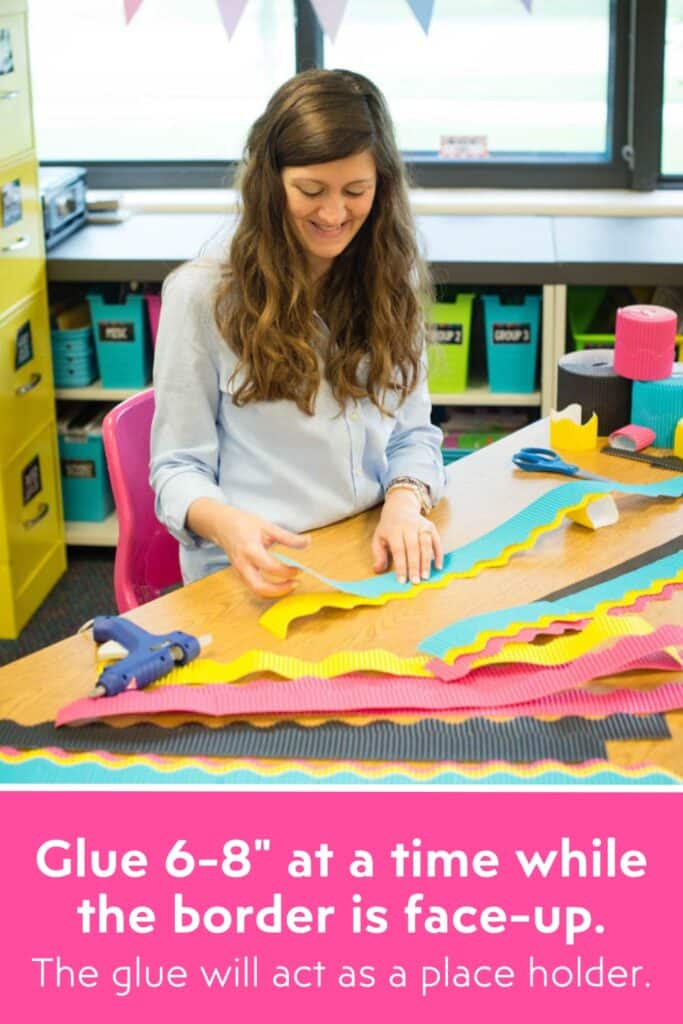
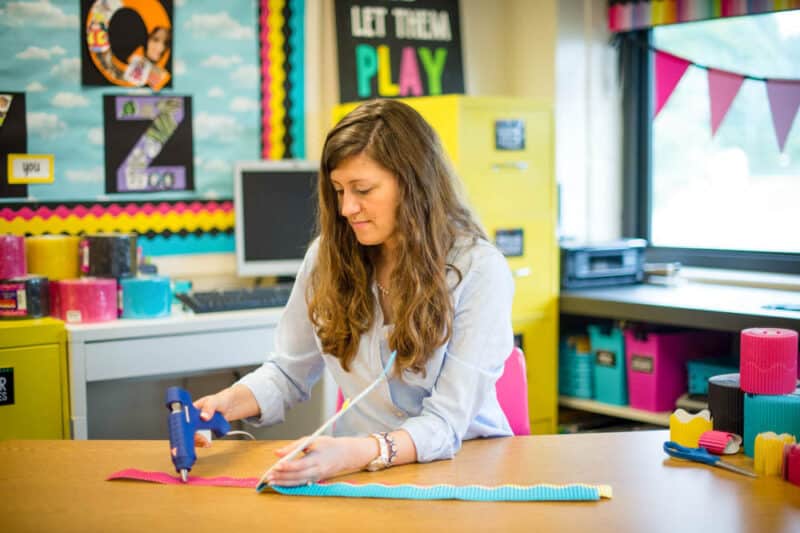
Once you have two layers of border glued together, you can repeat the steps as many times as you desire. Start each new layer face-up and glue 6-8″ along one edge to hold your spacing. Then flip the whole thing order and let the straight lines guide you as you glue the rest of the strip. Many of my classroom board have 4-5 layers of border. It works even when you have that many pieces.

If you accidentally glue a border crooked or have any other mishaps along the way, just give a gentle tug to separate the glued layers. If you used a thin line of hot glue, they will come apart (even if the glue has dried). Reposition your strips of border and apply a new line of hot glue to re-adhere the strips. This project is very forgiving of mistakes as you work to layer bulletin board borders.
Photos and video by BTW Photography. Brian Weitzel from BTW Photography is one of the most talented people I know and I was so pleased to hand the camera off to Brian for this tutorial.
Once your borders are finished, they are ready to hang! I use staples to attach the pieces just like any other bulletin board. Sections of border that are only a few feet long are very easy to hang. I created several faux-bulletin boards around my classroom and trimmed them with layered border as well. In those spaces, I used hot glue or packing tape to attach the borders to the paper backing. Both adhesives worked just fine.
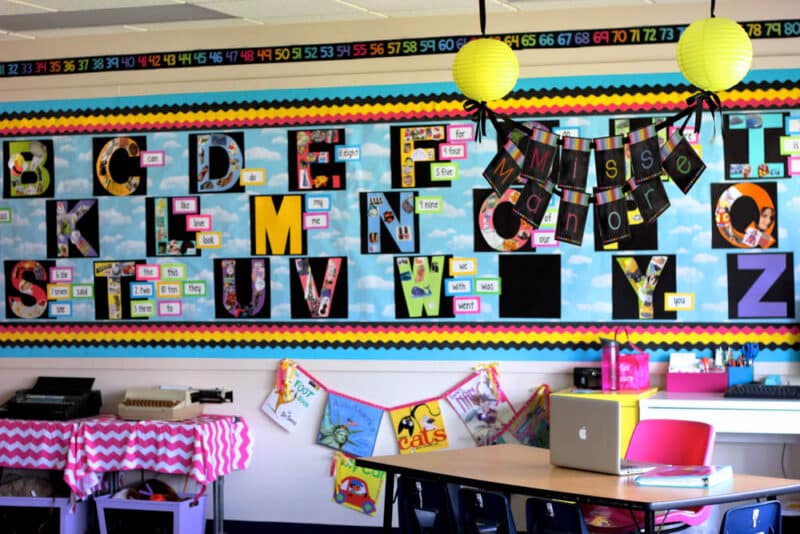
If you find yourself with REALLY long pieces of border (like the ones you see on my classroom alphabet wall), I highly recommend having some friends help you hold the border while you staple it. For this particularly bulletin board, my mom and another teacher at my school held help me lift the the very long section of border without bending and creasing it. Then I grabbed a stapler and quickly attached the layered border to my board while they held it in place. It can be a little stressful to hang pieces of border this big, but don’t worry. With help, it look less than 10 minutes to hang the border around my entire bulletin board.
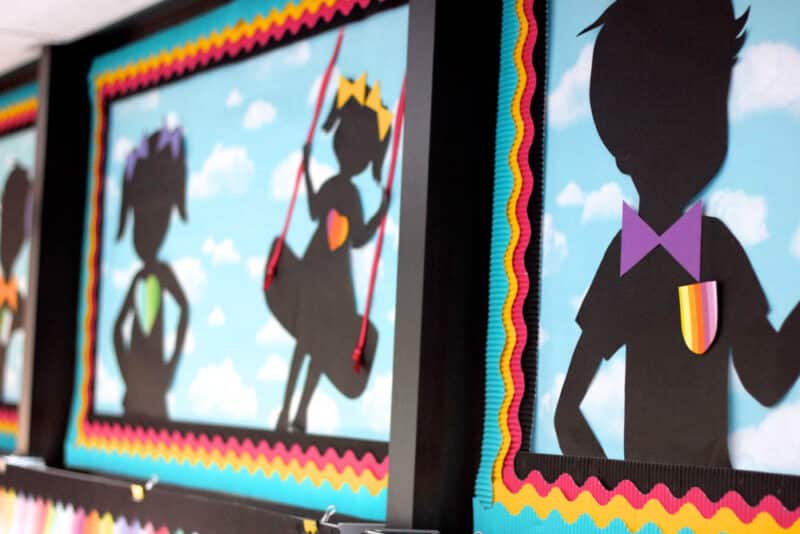
If you look carefully at the birds in my classroom, you will see that the corners are sort of woven together. To achieve this look, I the border around the bulletin board but did not staple the ends of each strip to the board. The ends of each strip were hot glued together, but they easily tugged apart to separate each layer. Start from inner layers and weave the edges to create the desired look, applying hot glue to set the corners in place.
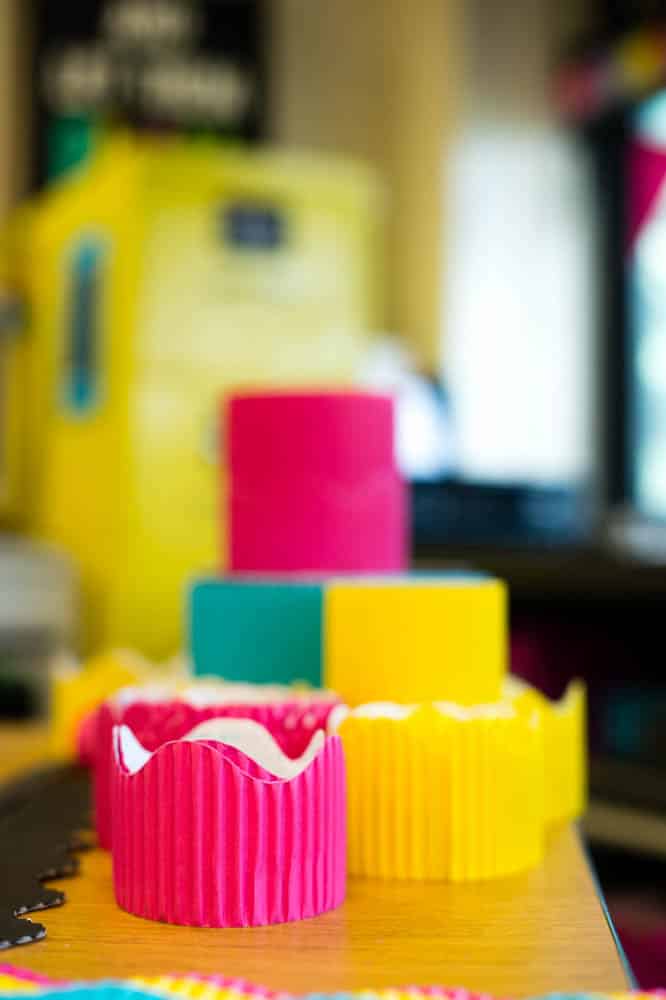
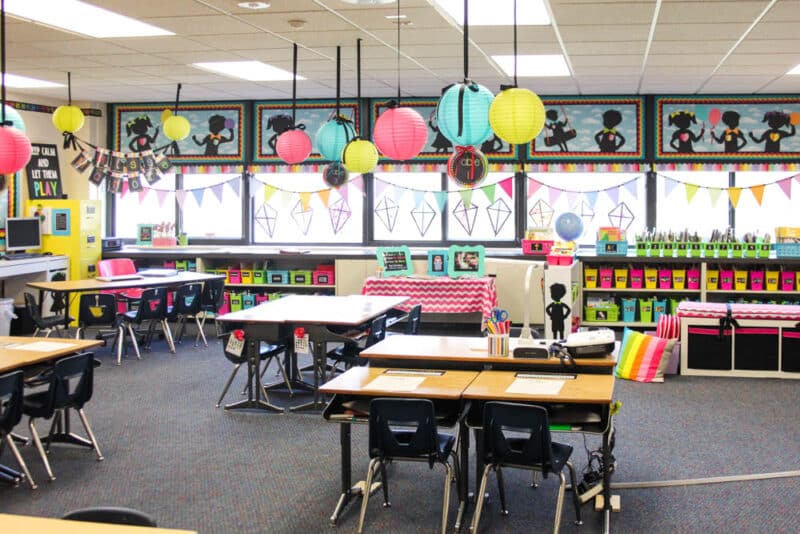
I used Bordette to create all of layers for my classroom bulletin boards. I love it because it is bold, cheap, and comes in a rainbow of colors. You can purchase Bordette on Amazon. The silhouettes of children playing that are on display in my window, pennant banners in my classroom, and even the sign above my desk that says “Miss Manore” all came from Schoolgirl Style.
The Schoolgirl Style online store is the best place to stock up on beautiful decorations and Schoolgirl Style blog provides limitless classroom inspiration.
Have a question about something you saw in my classroom? You will find answers in one of the following blog posts.
Bright Rainbow Chalkboard Classroom Tour
Take a peek into every nook and cranny of my kindergarten classroom with my 2013 classroom tour. You will also find a shopping list so you can track down materials to recreate my space in your own learning environment.
Spray Painted File Cabinets
Readers always ask about my bright yellow file cabinets. I painted them. Check out this blog post for step by step directions and essential tools for painting your own cabinets.
Silhouettes of Children Playing
Don’t you just love the beautiful silhouettes that are displayed above my classroom windows? These cuties can be found throughout the room. Read all about them in this blog post.
Brightly Colored Alphabet Wall
The alphabet wall you see behind me is part of the Letter of the Week study we do in my classroom. Each letter is a collage of pictures beginning with that sound. Discover how I use the alphabet wall in the classroom and download a FREE template to help you create your own alphabet wall.
Word Wall Printables
The brightly colored cards you see beside the letters on my alphabet wall are kindergarten sight words. The alphabet wall in my classroom doubles as our word wall. Read more about how I use color to help students master sight words and download FREE sight word labels to create your own word wall cards.
Shelf Storage Bins and Labels
Aren’t the brightly colored bins not the shelf behind me beautiful? They are my favorite way to store all of those necessary teacher materials and they look so much nicer than stacks of paper. Read all about how I stay organized with Classroom Supply Labels and storage bins.

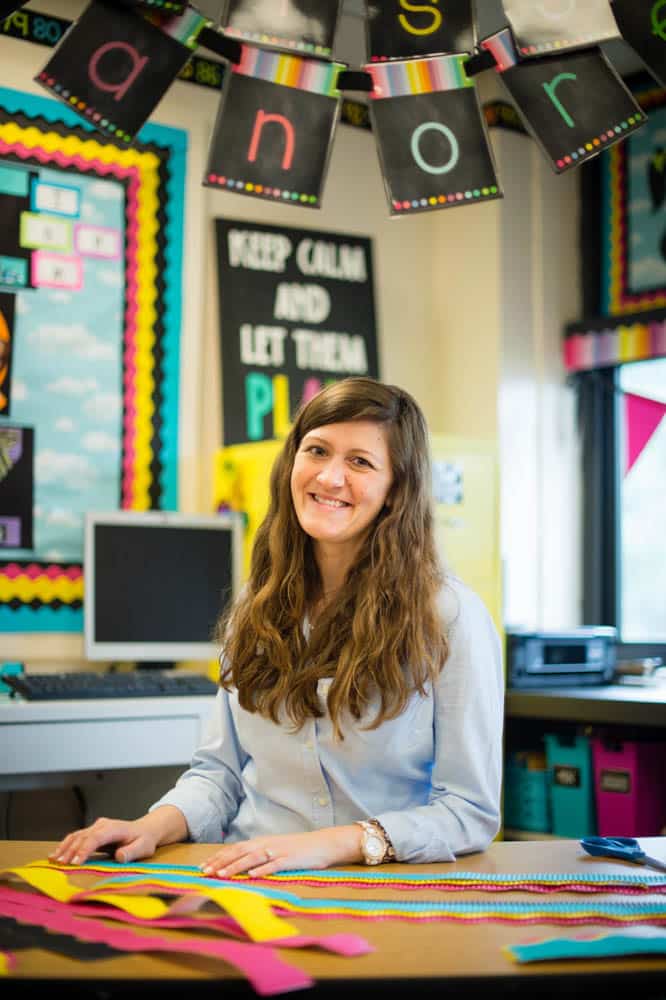
I’m a former kindergarten teacher turned work-from-home mom. I still love sharing ideas and resources to make teaching easier, so you can focus on what really matters in the classroom. When I’m not working on the blog, you’ll find me chasing kids around the house with a cold cup of coffee in my hand (some things never change even once you’re out of the classroom!)


24 Responses
OMG!!! Thank u so much, I have been asking how to do this. I am so happy Thank you a million.
I am so happy 🙂
You are adorable!!! I loved seeing your video tutorial!! I love Bordette borders because they come in so many great colors! It would have been so much easier to hang them up in my classroom if I had seen your video/tips first! As always, thanks for your inspirational ideas!!
You are too cute for words! AND YES! Yes, yes, yes! I’d love to see more tutorials!
Thank you for always being so sweet and thoughtful with each of your inspirational posts.
Erin
Short and Sassy Teacher
The tutorial was great! Keep them coming please!
Hi Maria, I think the video was great! I’d love to see more tutorials and things going on in your classroom. It’s very inspirational! (BTW, I’ve commented on your blog, Instagram, and YouTube pages today–and I swear I’m not a stalker! There’s just been a lot of great Kinder Kraze stuff today!)
I always wondered how that look was achieved now I might be brave enough to try it!! Thank you I’d love more video tutorials!!
Loved your tutorial, Maria-glad I saw you posted about it on IG! I am wondering how to staple those borders on without crushing the edges that are stapled
Your layered borders are beautiful! One question, if they are hot glued together is it permanent? What if I later want to separate the layers?
You are so much like me. I wish you taught next door!! I work so hard on classroom environment. I love your ideas and inspiration. I have recently purchased several of your TPT products. My book tubs are so cute and organized now! Thank you!
I just added the color I wanted on the inside and inch away from the frame. Then I stapled the color I wanted on the outside right next to the frame.
I am sure you get a ton of comments about your alphabet board but I absolutely love it and plan on creating one in my classroom, I was trying to figure out what you use for your sight words but the link is no longer there. do you use the words that you come up with when you introduce the letter or how do you introduce the sight words to the class?
Hi Sarah! I’m so glad you love my alphabet board. I’m sorry that the link to the sight word printables was broken. I fixed it in the post. Here is a link so you can easily find the information you need: https://kindercraze.com/2014/07/colorizeyourclassroom-with-astrobrights/
Hello, I absolutely love your classroom. I want to know about how many packets of bordette you had to buy ?
Hello, I absolutely love your classroom, definitely my inspiration for this year. I want to know about how many packets of bordette you had to purchased.
Hi Alicia,
Oh boy, I know I used a TON of bordette around my windows. My best guess is that I probably used about 8 rolls of each color, but I’m not certain.
Maria,
Thank you for the great tutorial for layering borders! I did it! This is coming from someone who loves/fears pinterest! Thank you, thank you, thank you!
Thank you! I think this is going to be really helpful tomorrow as my husband and his friend put up the borders. I can’t climb right now since I am pregnant. I am about to to start the hot gluing right now. So glad I remembered this tutorial was here. It was so hard last year trying to do it the “other way” 🙂
You are such a brave soul to let your husband hang the borders for you (but what a sweet guy for taking care of it!) Hopefully the hot glue trick will work for you!
Maria,
Love love the colors that you chose for your room!! It makes me feel happy!!
Can you please share which colors you used of the bordette especially the blue. Thank you Rachel
I also love the colors you chose for the border. What colors did you buy?
Hi Kim! I used canary, magenta and azure blue!
What color is the blue border you are using? Thanks! Love your room…