
This week I came to the realization that I am done with winter. I’m tired of cold, snow, wind, ice, sleet, and gray skies. So I began a personal crusade in my classroom to get rid of every wintery image. Snowflakes, snowmen, blue decor, everything – GONE. My new mantra has become “if you decorate it, spring will come. Rainbows have become my official classroom symbol for all of the warmth, sunshine, and brightness that I am looking forward to. My kinders are on board with this plan as well.
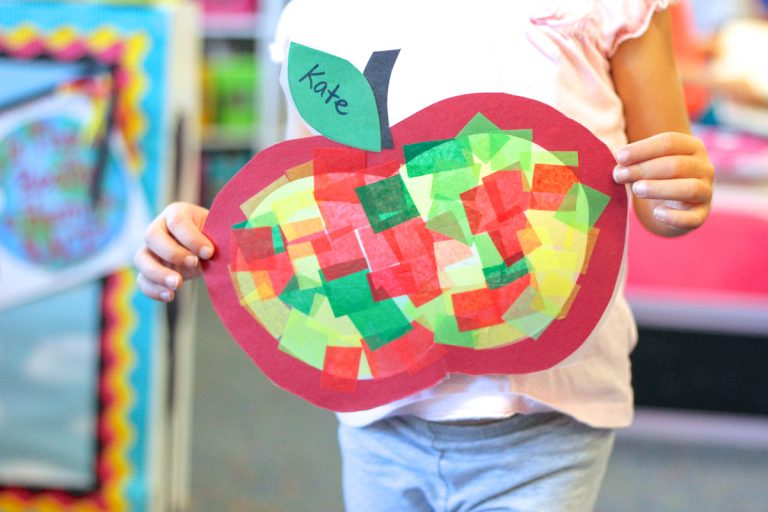
Our first step toward inviting Spring weather: Rainbow window decorations made from simple supplies of clear contact paper, tissue paper, and construction paper.
Like all previous classroom stained glass decorations, my students did nearly all of the work themselves. I simply had to prep the materials ahead of time.
Here’s what you need to begin:
Black construction paper frames that are 7.5×9.5″ with a .5″ border (one per student)
>Black strips of .5″ construction paper that are 12″ long (5 per student)
Clear contact paper sheets, approximately 9×11″ (2 per student)
LOTS of 1″ squares of tissue paper in red, orange, yellow, green, blue, purple (I separated these into warm colors and cool colors to keep it simple for my students)
Choose a time when students are away from their desks. Place one piece of peeled contact paper sticky side up on each child’s desk. Add a black frame into the center of each piece of contact paper and use a white crayon to record each child’s name on his/her frame. (I did the writing for my students… kinders are not very talented at keeping their hands off the sticky paper while they write). I set everything up while my students were at music class – this made my life SO much easier!
Before we could add pretty colors, each child needed to create the outline of a rainbow. We did this task step-by-step and EVERY SINGLE ONE of my students was able to successfully create an outline with these three simple steps.
Step 1: Place a paper strip in the center of the frame, tilted diagonally. Not vertical. Not horizontal. And not touching any of the corners. Just a little bit diagonal.
Step 2: Place two paper strips in the top section of the frame. Space them out and don’t let them criss-cross the first strip. (I used this opportunity to teach my students the word “parallel.” They loved learning a big new word.)
Step 3: Place two more paper strips in the bottom section of the frame. Don’t let them cross any of the other strips. (Another great moment to use the word “parallel!”)
From here, it was smooth sailing. I quickly informed my class that the colors in a rainbow have a special order. I wrote ROYGBV vertically on the classroom whiteboard and demonstrated how to fill in my own rainbow’s spaces with tissue paper in the special color order. No additional explanation was needed. My students instantly began to create!
Once the tissue paper rainbow was complete, I placed a second sheet of contact paper sticky side down on top of the project to make a “rainbow sandwich”. Each child used scissors to trim the excess plastic from the edges of their rainbows.
I love how bright and springy these finished “stained glass” windows look in my classroom. There may be snow on the ground right now, but at least I can live in denial and think warm, sunny thoughts while I admire the view from my classroom.
The rainbow fun didn’t stop with our window decorations… It was the perfect opportunity to integrate a little math into our Springy day. We have working on skip counting in my classroom. My students have nearly mastered the skill of counting by tens, but counting by fives has proven to be more of a challenge. A 100s chart is always a helpful tool for discovering number relationships, but there are SOOO many numbers, it’s easy for young children to lose their place on the chart. I created a Rainbow Skip Counting set to provide a visual guide and help students keep track of their place on 100s charts while they count. My students LOVE the idea of rainbow writing numbers and this has proven to be a very helpful classroom resource.
Rainbow Skip Counting can be purchased on Teachers Pay Teachers. The complete set includes pieces to construct full-color large classroom charts, full-color student charts, and student recording sheets (complete resources for counting by 2s, 5s, and 10s).
Here’s hoping that my classroom rainbow crusade helps beat those winter blues…
These posts feature other stained glass window decoration projects. Be sure to check them out for more fun ideas that will bring a festive touch to your windows!
[pt_view id=”19630a91a8″]


I’m a former kindergarten teacher turned work-from-home mom. I still love sharing ideas and resources to make teaching easier, so you can focus on what really matters in the classroom. When I’m not working on the blog, you’ll find me chasing kids around the house with a cold cup of coffee in my hand (some things never change even once you’re out of the classroom!)

©2021 Kinder Craze. All Rights Reserved.

8 Responses
Love your rainbow stained glass! Just what we need in cloudy Seattle to brighten up our windows!
Thank you Tracy… every little bright thing helps get rid of the drab of winter!
Very bright and cheerful….welcome Spring!! I have a question for you….what type of contact paper do you buy and where do you get it ? Funny coincidence, we started stained glass crosses today ( First Reconciliation is this Friday ). I was inspired by your post. Well, I bought a roll of clear contact paper and trying to unroll and cut and flatten…….any tips or suggestions ??? I am headed to the States on March Break so could shop for better contact paper ( and tape dispenser and containers :). Thanks Maria !!!
The rainbow stained glass is beautiful! I can just imagine how bright and cheerful your windows look! 🙂
Cindy
Granny Goes to School
I”ve been trying to find clear contact paper too!
We finished our crosses and they are beautiful but hopefully there is a less painful type of contact paper…..in an individual sheet format, peels easily from the corner, inexpensive…..am I dreaming ????
Thanks Maria for the tutorial! Super cute love the quality of the pics 🙂
Great post, like always!
Vanessa
KinderLoves
You are such a brilliant teacher. I wish my son can have a creative teacher like you:)