
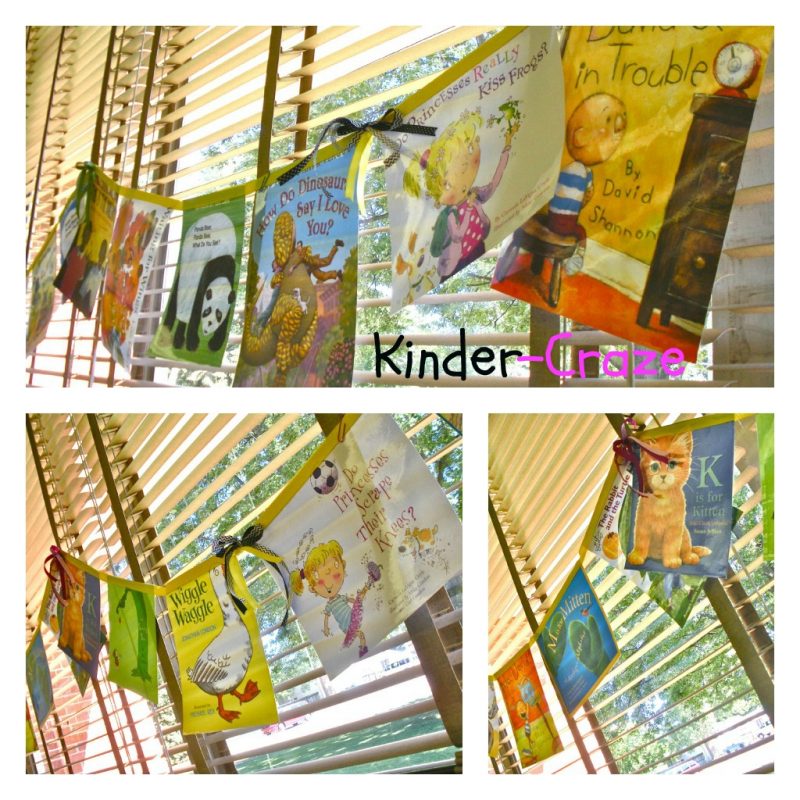
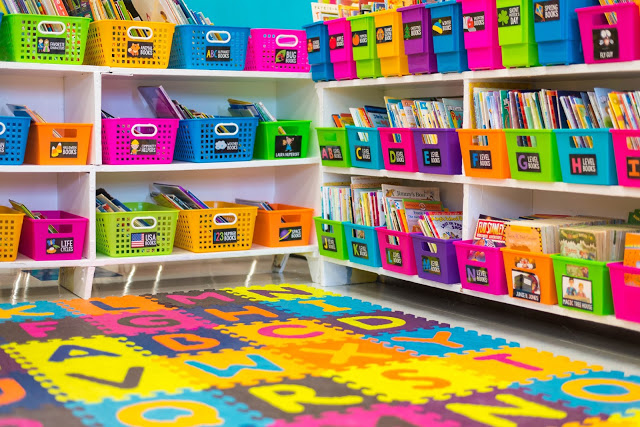
Hello lovelies! I am so excited to share my newest DIY project for the classroom with all of you. My new batch of Kinders come to see me in 17 days and I have been very busy planning some fun updates to my classroom decor. This week I finally stepped out of the planning stages and began to DO some decorating. I made this beautiful banner to add a little color to the shelf-to-ceiling windows that run the length of my classroom.

The inspiration for this little project came from the adorable bunting that Tara at 4th Grade Frolics created for her classroom.
I had saved up a TON of dust jackets from my hardcover children’s books. I wasn’t saving them for anything special- I just didn’t want to throw such pretty covers away and they cause too much hassle in my classroom when they fall off of the books my kinders are trying to read. Add some ribbon, a hot glue gun with plenty of fresh glue sticks, and some scissors and I was ready to go. (Access to a laminator was helpful as well.)
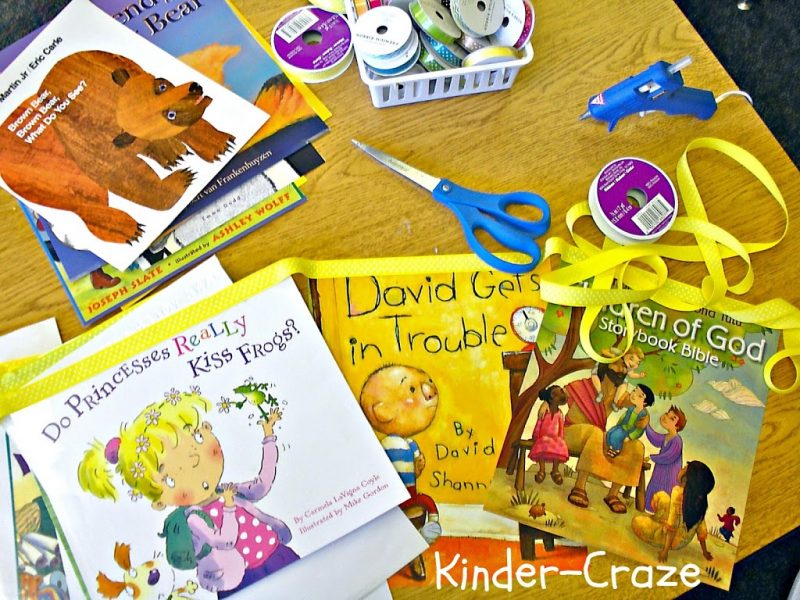
Preparing for this project was very simple. I trimmed the flaps and back covers from all of the dust jackets so all that remained was the cute front cover. Then I took all of the covers, laminated them, and cut them out of the laminate.
 The final step before I began to construct the banner was arranging the order of each book cover. I laid each cover out in a line across the floor and planned their arrangement in the banner. My goal was to achieve balance: in color, in size, and in orientation. Once all of the covers were in a line, I carefully moved them around to evenly disperse the colors displayed in each cover. I was also attentive to the fact that books are different sizes and I tried to keep the various sizes staggered throughout. The final detail I took note of during this stage was page orientation. Most of these covers were portrait (they went up and down), but a few were landscape (side to side). I was careful about keeping the landscape oriented covers evenly dispersed as well.
Once I was ready to begin construction, I used hot glue to attach ribbon along the top edge of each book cover (leaving about 2″ of ribbon between) each cover. After gluing the front, I turned the banner over, and glued another line of ribbon along the back of each cover (for added reinforcement). I also glued the two pieces of ribbon together in the space between each cover. When the gluing was complete, I tied brightly colored ribbon onto the ends of the banner, as well as a few spaces between the book covers to add a little decorative flair.
I created a video tutorial for you to guide you through the entire process of creating a book cover banner for my classroom. I’m also thrilled to finally have another opportunity to share with you while sitting in FRONT of the camera.
Here are a few more pictures of my finished book banner. I love having a bright splash of color hanging in my window, and the fact that it features beloved stories for children makes the banner even more wonderful!
Happy Crafting!

I’m a former kindergarten teacher turned work-from-home mom. I still love sharing ideas and resources to make teaching easier, so you can focus on what really matters in the classroom. When I’m not working on the blog, you’ll find me chasing kids around the house with a cold cup of coffee in my hand (some things never change even once you’re out of the classroom!)


34 Responses
This is the cutest idea!! I love it! Thanks for the tutorial Maria!! 🙂
Lisa
Learning Is Something to Treasure
Thanks Lisa, I love my new banner so much!
Maria,
I love!!! this idea. I have just the spot for it, too! I can’t wait to try it. Thanks so much!
Mona
First Grade Schoolhouse
Thanks Mona! Best of luck with your project!
Love this! I save my book jackets, too. I may not have this done before school starts, but I will add it within the first week or so. Thanks for sharing!
Thanks Beth- have a great start to your school year and good luck making a banner of your own!
I love this idea! I have tons of book jackets as well for the same reason! Right now they are just collecting dust in one of my cabinets. But not anymore you have inspired me to do something more with them. Thank you. Love your blog!
Mrs.G’s Kindergarten in Heels
Michelle, You’re welcome and I’m so glad to help. I was also thrilled to put my own book jackets to good use!
Very cute! I love it! Our Library was going to throw away the book jackets. Some of us teachers rescued a bunch from the trash! I know what I am going to do!!! It would be cute in the hall for I love to Read month too!!
Wow, Julie- what a treasure! A book cover banner would be PERFECT for reading month!
LOVE this idea!!! I know what I am doing with all my book jackets now. 🙂 Thanks for sharing.
Heidi
My (Not So) Elementary Life
This comment has been removed by a blog administrator.
What a great idea! I have a bunch of dust jackets…actually a boxful!
Terri Izatt
KinderKapers
Terri, I’m thrilled that you like the idea and I wish I had a boxful-that way I could make ANOTHER banner for my room!
How sweet and creative is this!!! I LOVE it Maria!! And I am totally loving your tutorials!!
Aww, thank you Annie!
What a great idea! That is super cute!!
🙂
Nancy
Joy of Kindergarten
Thank you Nancy!
Thanks for this! Did you laminate the book jackets first?
Maria, how important do you think it is to laminate 1st? I have a couple of covers that have glitter on them (Fancy Nancy, etc.) that I know won’t laminate very well.should I skip the laminating or leave those covers out? Thanks so much!!!
This is so awesome! I have used the covers in the past on my bulletin board but I LOVE this idea and it will be a great addition to my classroom. Thank you!
Carla
Love this idea! I have huge windows in my classroom with shades and this project will make my room look so inviting! Thank you for the tutorial Maria!
Donelle
I truly admire you!! Your teaching style, activities, and creativity is amazing!! I’m officially obsessed!!
((Hugs))
One Fab Teacher
I knew I was saving all those book covers for a reason!! I so love this idea!!