
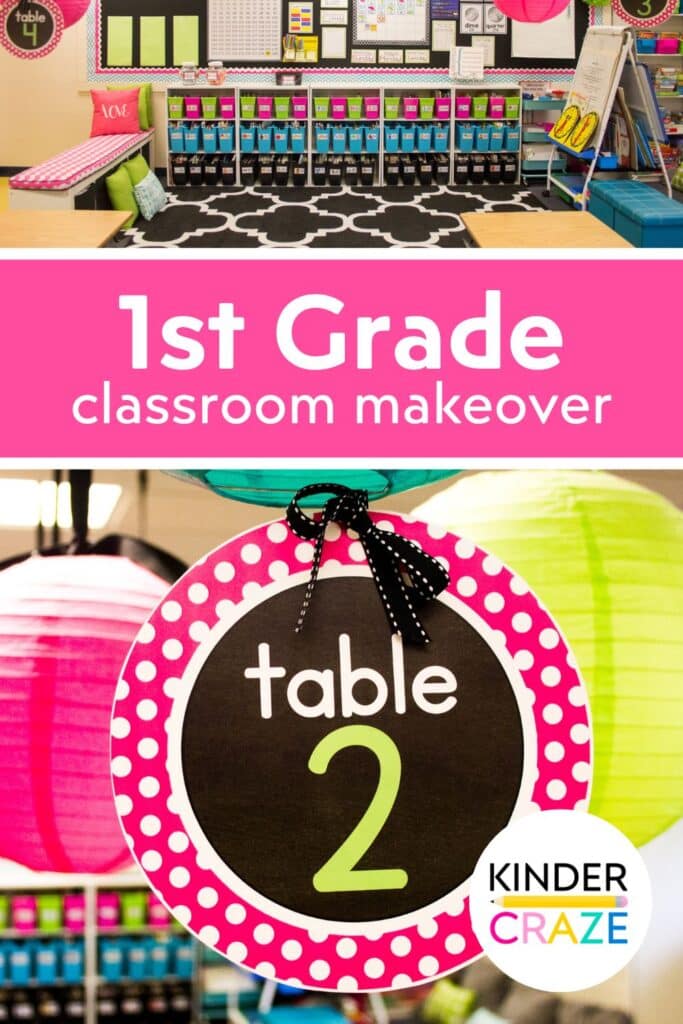
Today I’m overjoyed to take you on a tour of a first grade classroom makeover in my school. Before I dive in too deep, I should explain that this was a transformation I helped created two years ago. I had every intention of blogging about the transformation right after it was completed, but life got busy (as it often does) and I didn’t even have a chance to take photos. After an entire school year of admiring this room every time I walked by, I finally grabbed my camera at the end of the school year to and am just now sharing it with you on the blog. Better late than never, right?
I know how much a classroom transformation inspires you to create change in your own classroom. To make the process a little easier, I included shopping links throughout this blog post, including affiliate links. I earn a small commission each time someone makes a purchase through one of my links (at no additional cost to you), which helps to support the blog so I can keep sharing this kind of content with you. I hope you love today’s first grade tour!
I’m going to start by saying that there was absolutely nothing wrong with this first grade classroom before we changed it. Mrs. Kim Lusch ran a smooth, orderly classroom that was bright, cheery and filled with love and everyone who entered into the room wanted to linger as long as possible. Here is how her classroom looked before the transformation.
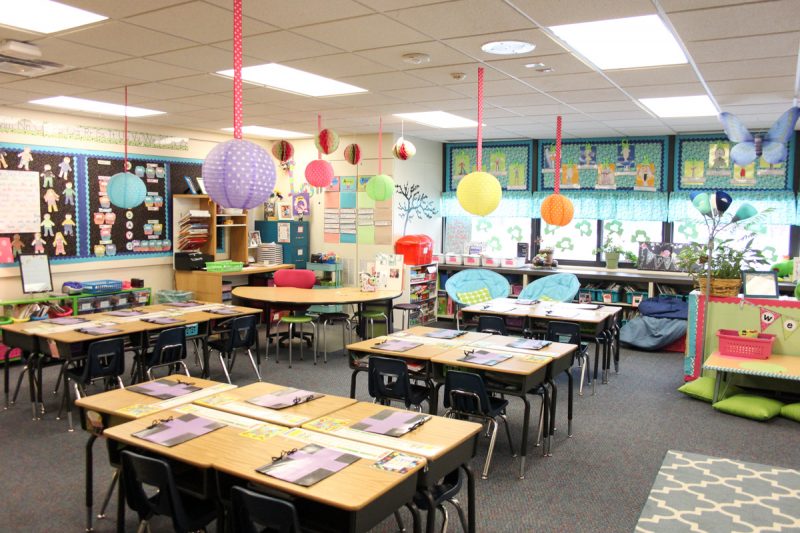
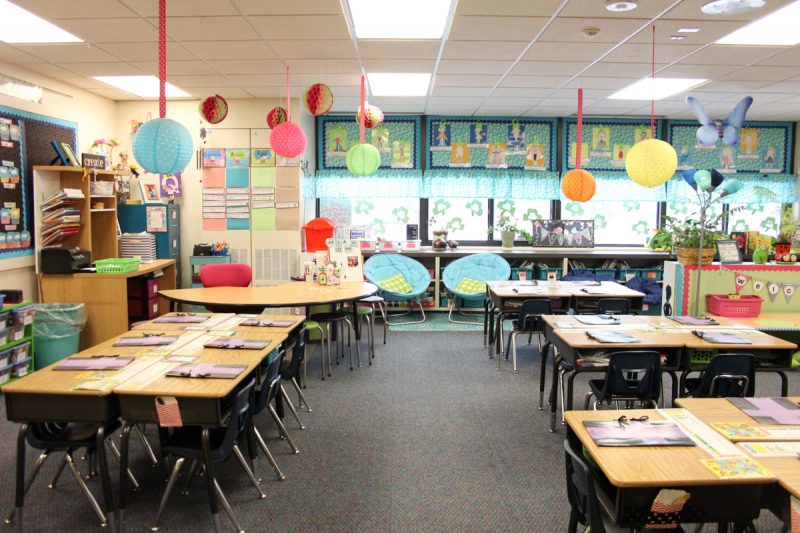
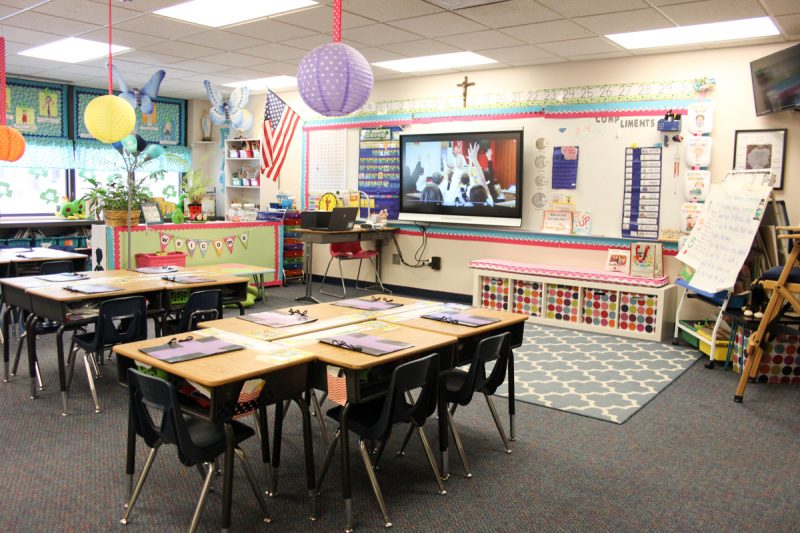
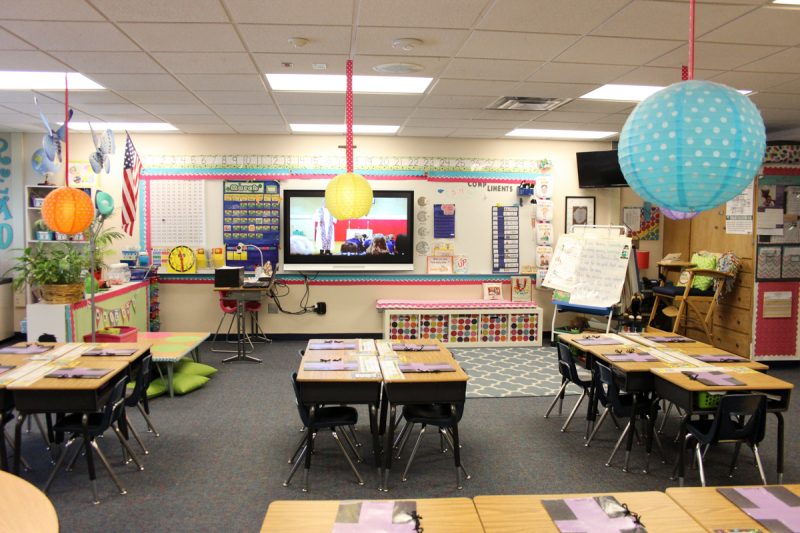
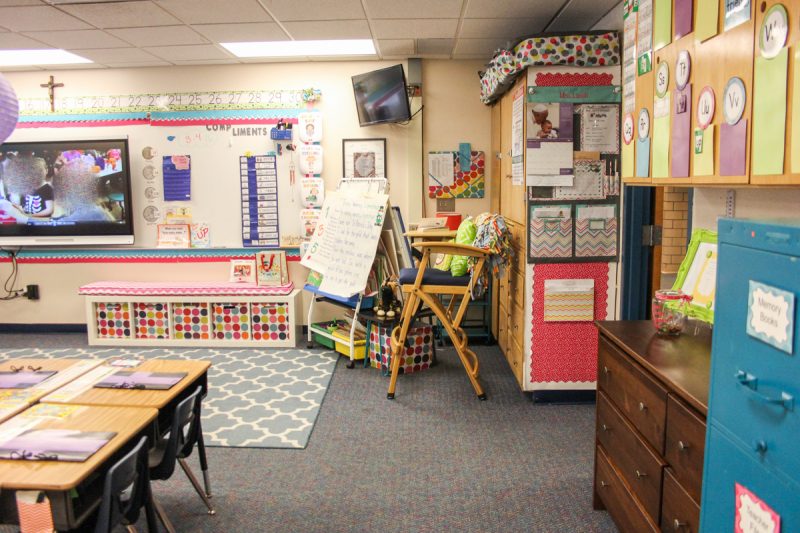
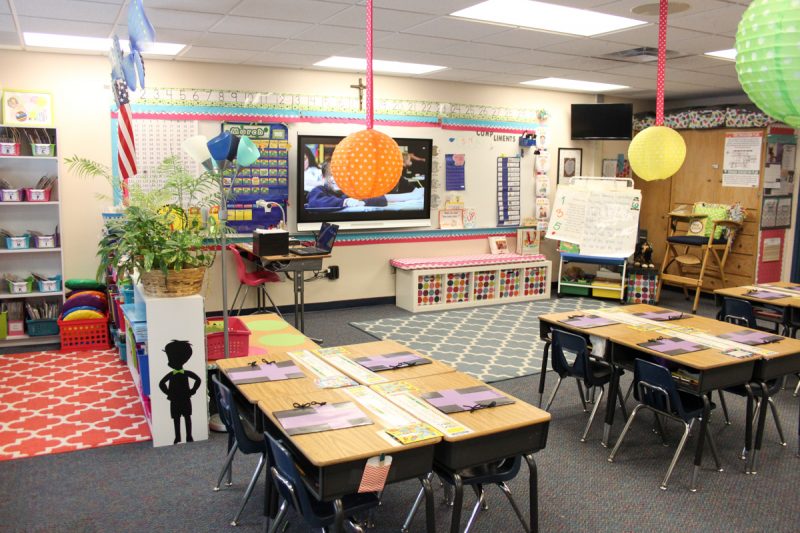
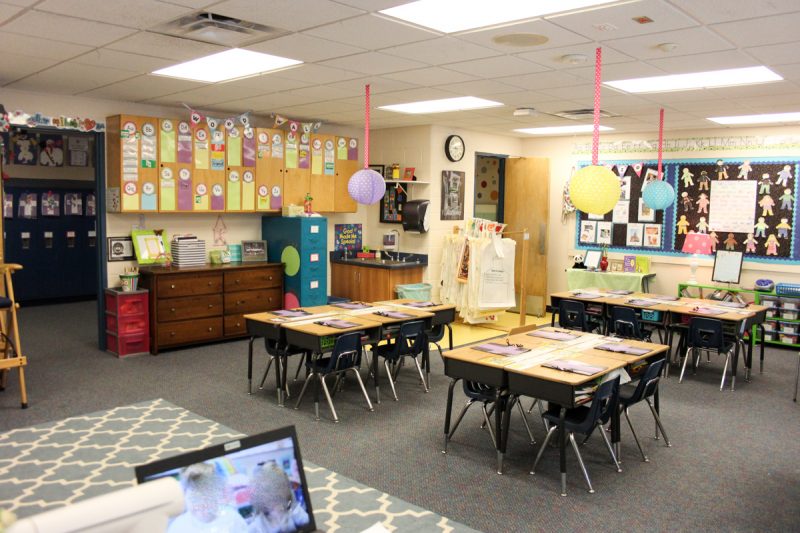
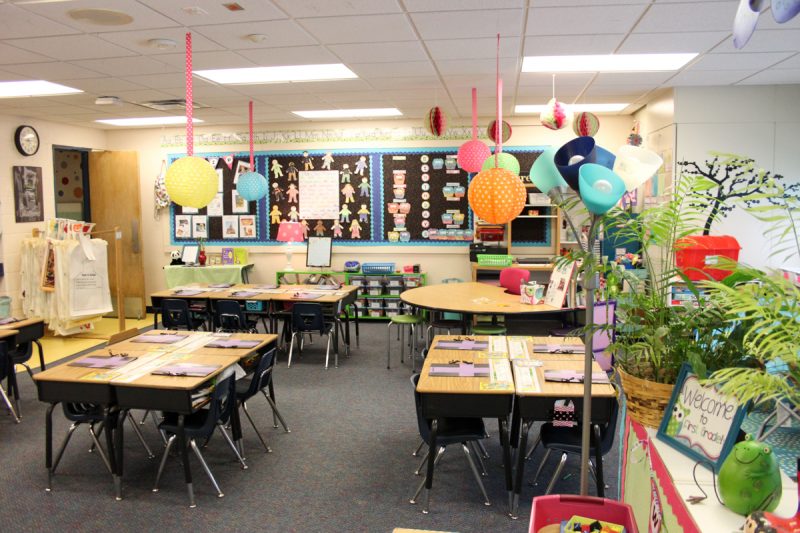
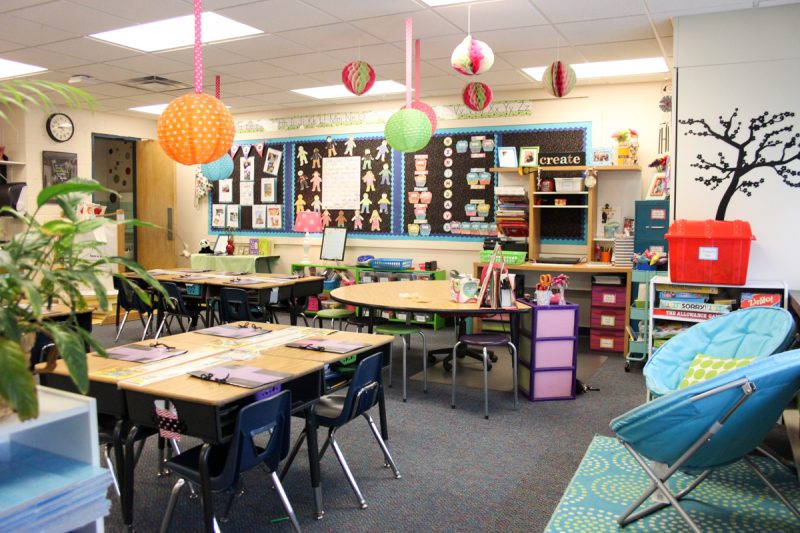
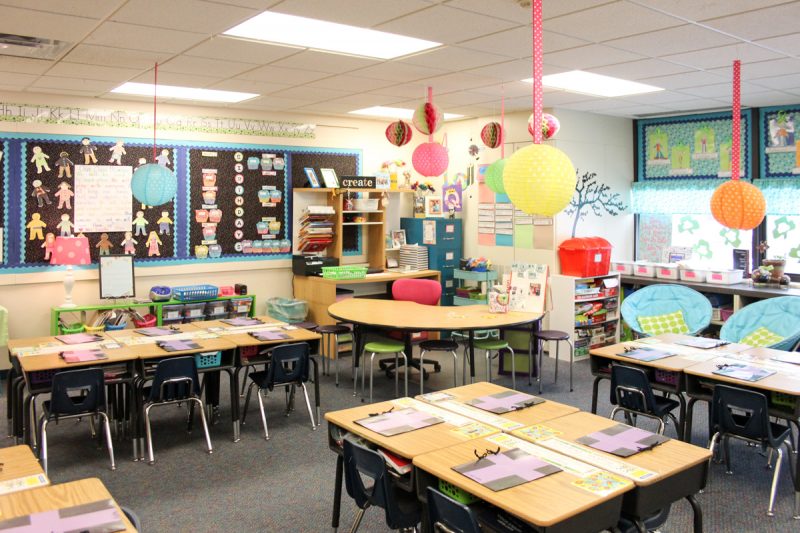
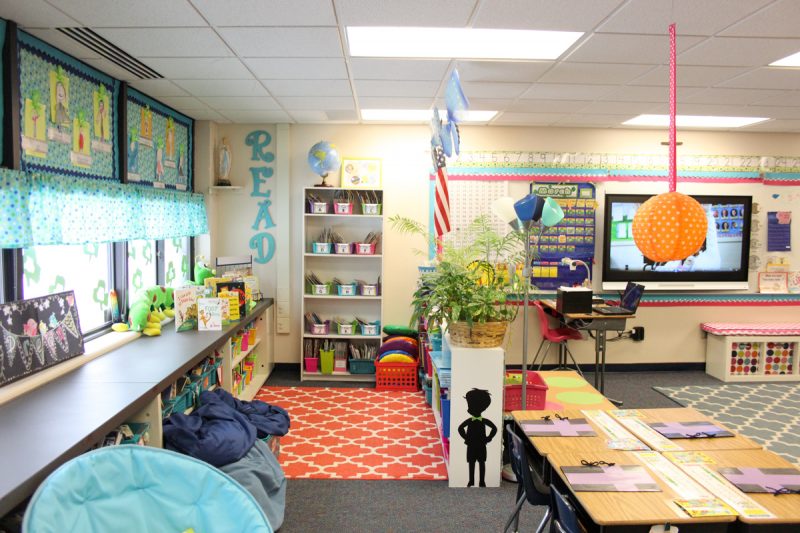
Like so many other teachers, Kim had decorated her classroom piece by piece over the years. Little by little a great bargain rug, garage sale find, or pre-loved decor item made its way into her classroom – which introduced a wide array of colors over time. Purple, yellow, orange, teal, lime, magenta, coral, gray, dark blue – just about every color of the rainbow appeared in some form.
One day Kim looked around her room and wanted a more cohesive color scheme with a deliberate classroom design. We were chatting about her classroom and I jumped at the chance to help her give the room a refresh with a first grade classroom makeover.
We spent a few weeks deciding on a theme and color scheme, then dove right it! It took a few weeks, but we completely redesigned Kim’s first grade classroom into a space she absolutely loved.
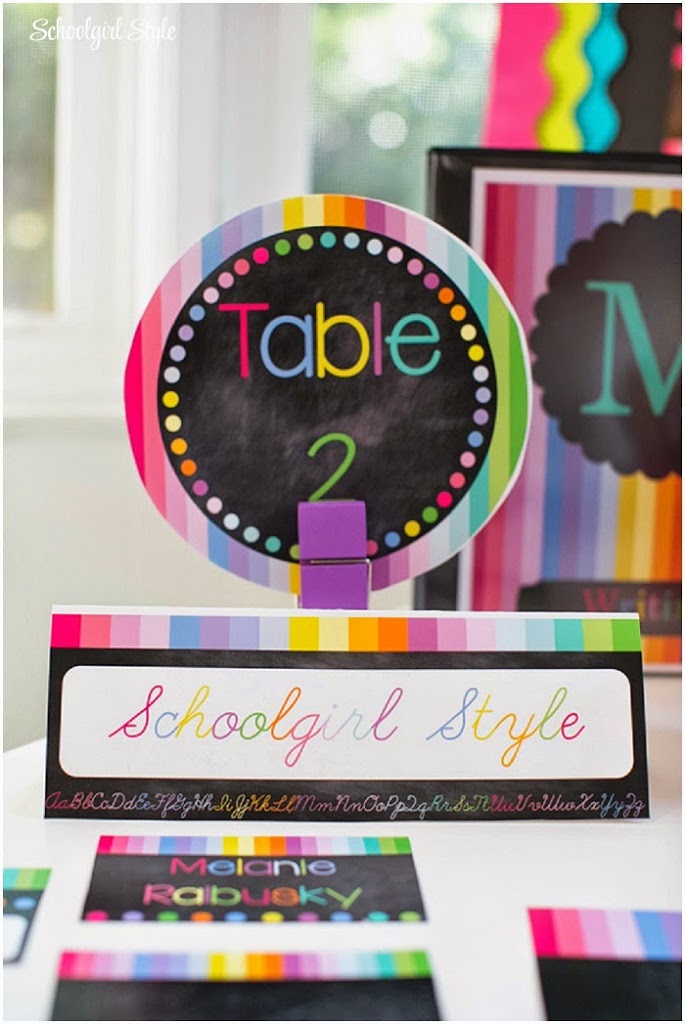
We started by nailing down a color scheme. Kim already owned several pink, teal, and lime green classroom accents; which she absolutely loved. She also wanted to go a little bolder and incorporate black into her room to make those bright colors pop. Once we decided on a color scheme, we looked for printable decor to fit her style … and fell in love with the Tickle Me Pink Paisley decor collection from Schoolgirl Style. We drew our inspiration from this photo. Stunning, right?
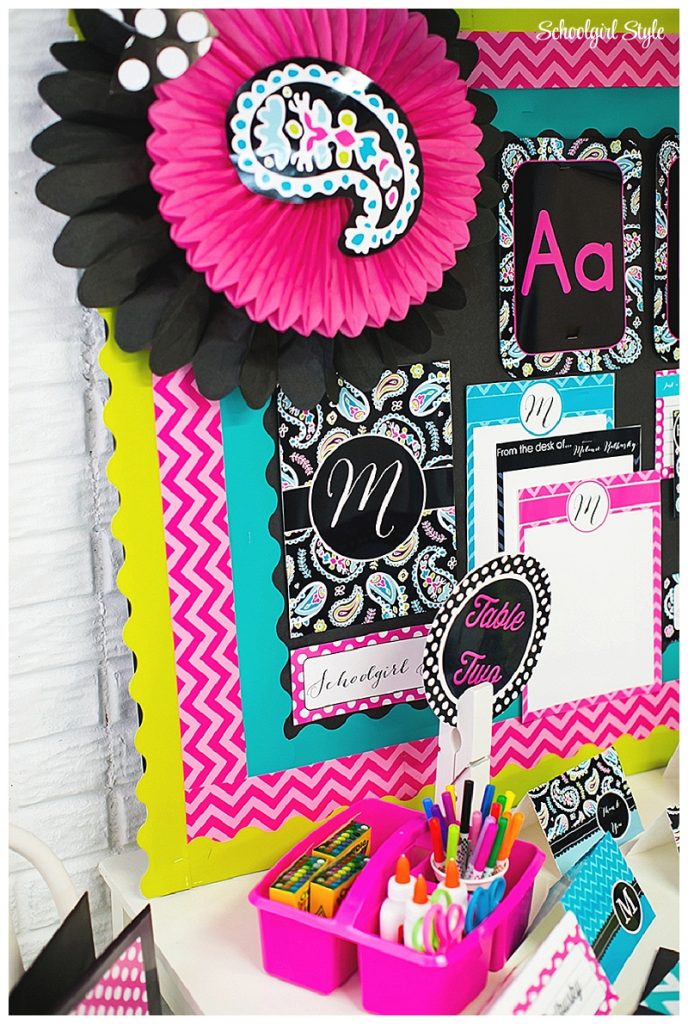
Once we had a color scheme, a theme, and plenty of inspiration courtesy of Schoolgirl Style, it was time to get to work!
We immediately started a major classroom cleanup and decluttering purge. Kim sorted through the collection of items that had accumulated in her classroom over the past ten years and sold all of her decor that didn’t match the new color scheme on a local teacher swap Facebook page. Not only did she get rid of her unwanted things, but she had a few extra dollars in her pocket.
Then the real fun began! I am so excited to take you on a tour of Kim’s first grade classroom makeover!
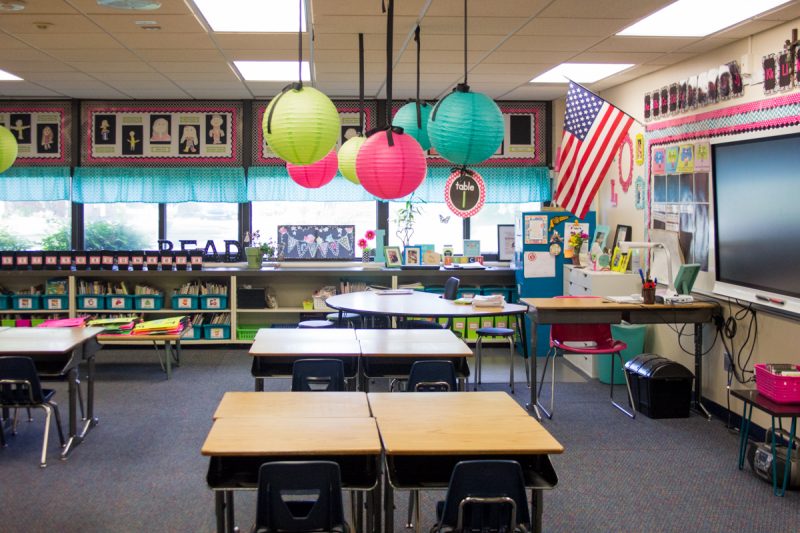
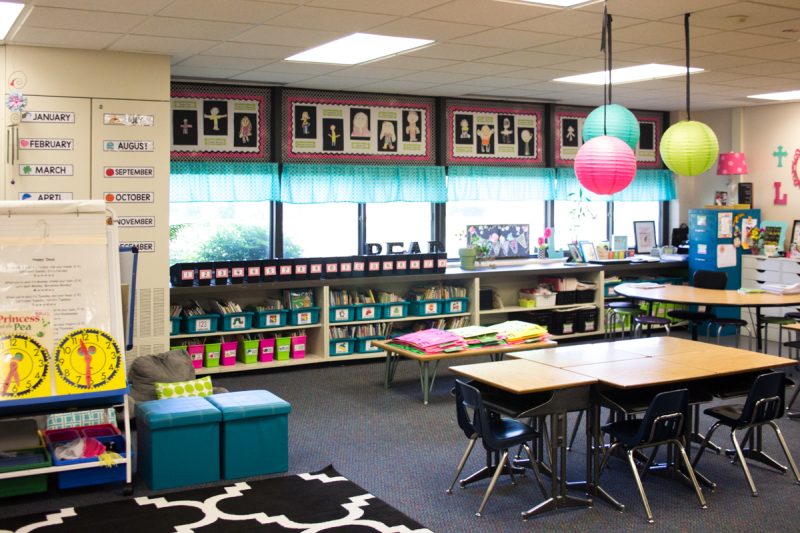
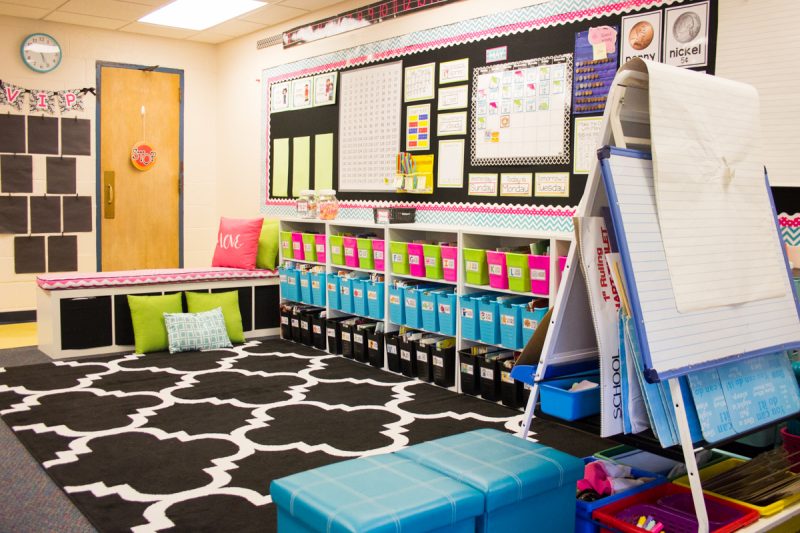
Right away you can’t help but notice a few distinct changes. Gone was the accidental rainbow of classroom decor. All of Kim’s updated classroom accessories fit the cohesive color scheme of pink, lime, teal, and black. We also rearranged the furniture to create a more open learning area. The previous layout had a library nook in front of the bank of windows. The nook was cute, but it created a barrier in the classroom which made the room feel smaller and also made it difficult to see what was happening in the library.
We moved the library to the back wall of the room, which opened the space and helped Kim to easily have all the students within her line of sight throughout the day. I can’t wait to tell you more about the library, but I’ll hold off to show you a few more views of the classroom.
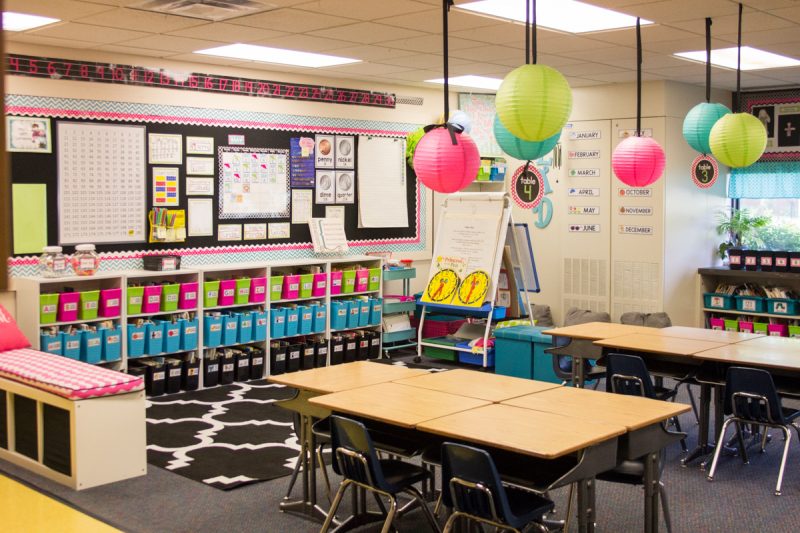
The space above the windows always provides a challenge at my school. It’s awkward and difficult to climb up and and decorate – and they aren’t bulletin boards. Those spaces are high-gloss white boards (not whiteboards … just boards that are white and glossy). I’ve learned over time that the best trick is to cover them with paper and border like a bulletin board (using a heck of a lot of packing tape), decorate them once and then never touch them again for the rest of the year. Kim’s students created self-portraits, which she she mounted on black paper and displayed on the boards above the windows. I thought this was such a sweet way to enhance her classroom community.
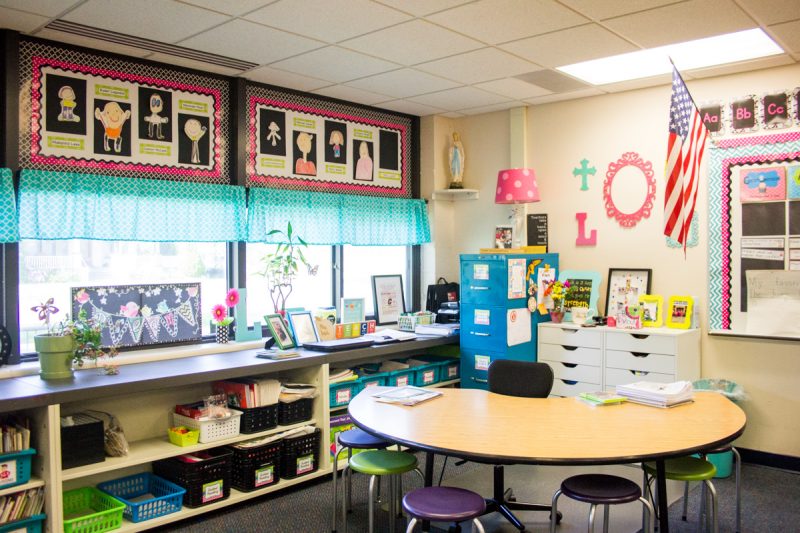
We also moved Kim’s teacher area to a different corner on the other side of the classroom for this makeover, but that wasn’t the only change. Kim simplified the space by saying goodbye to her bulky desk unit. Instead, she purchased two sets of stacked drawers from Walmart to hold a variety of teaching supplies. We tucked the drawer units beside her file cabinet behind the guided reading table and it created the perfect clutter-free way to have everything she needed right at her fingertips. It was also a great surface to display family photos and mementos.
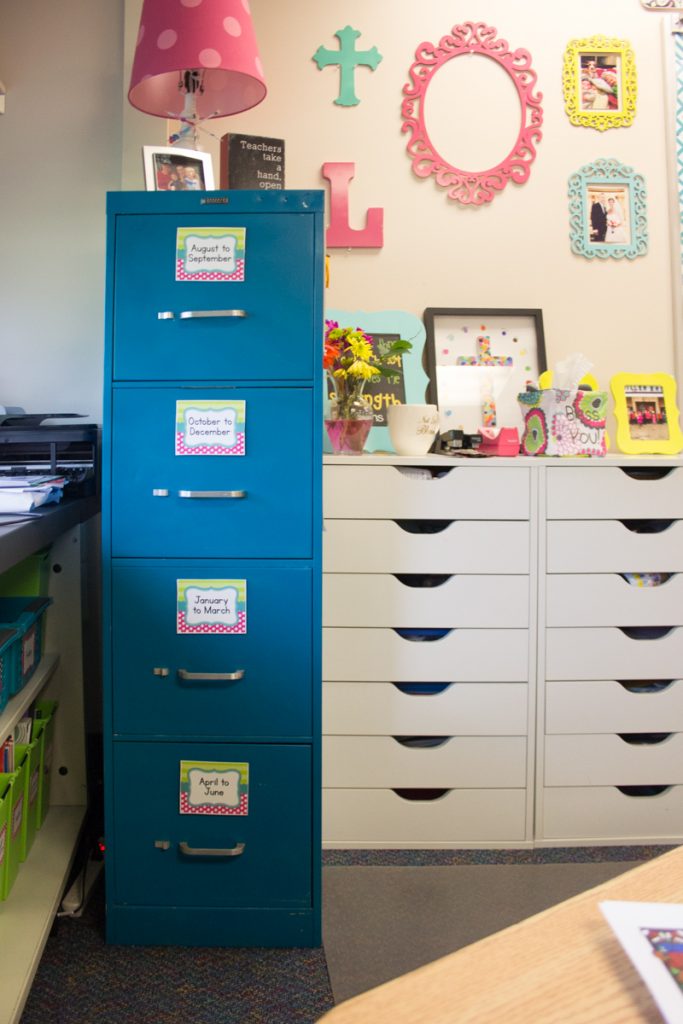
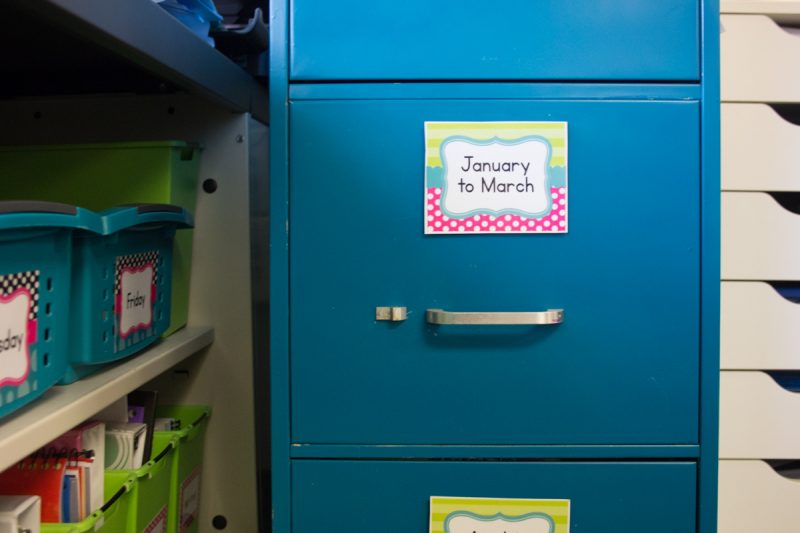
The file cabinets and bins for Kim’s instructional materials were all labeled using the coordinating tags in the Tickle Me Pink Paisley decor pack from Schoolgirl Style.
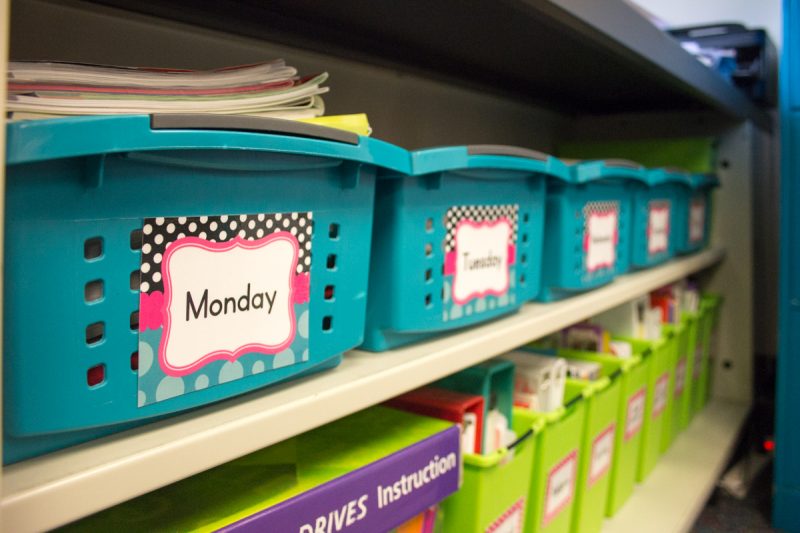
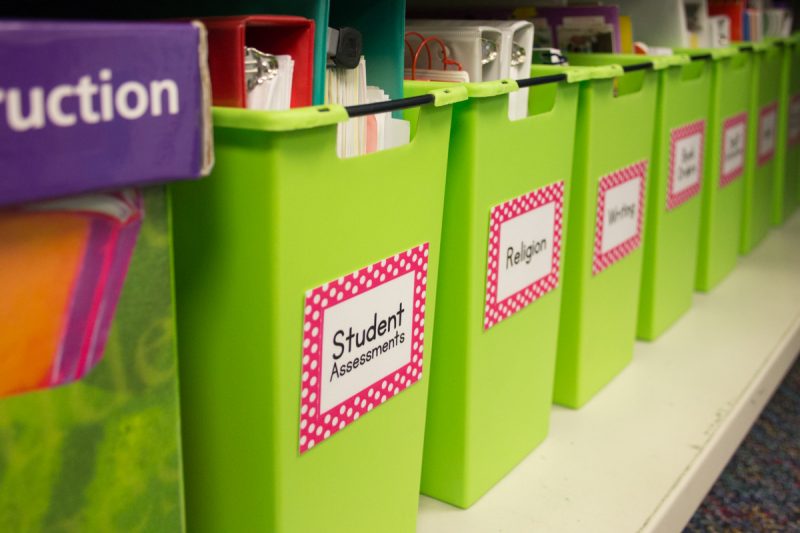
Kim’s workspace looked great from across the room and she didn’t miss the bulky desk at all.
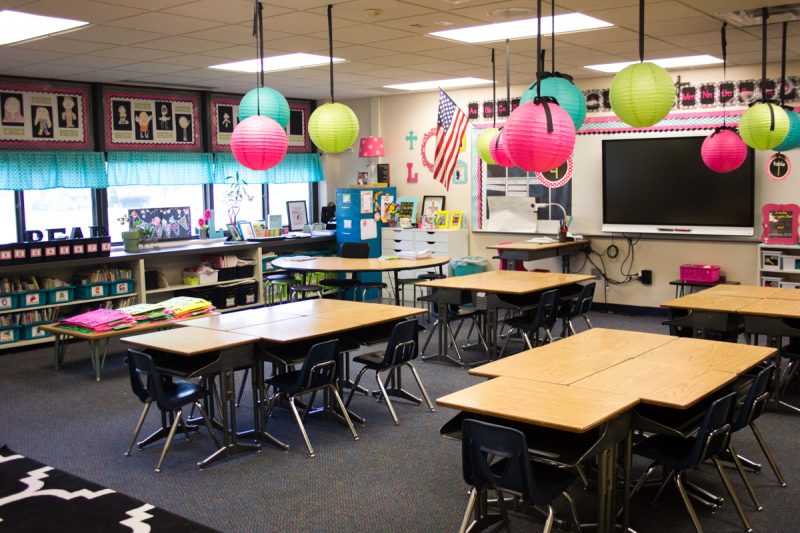
On the other side of the Smartboard, you can see a white shelf with several white storage boxes on it. This is where Kim stored all of her math manipulatives. We kept things cohesive and organized with the help of my Black Series Visual Supply Labels.
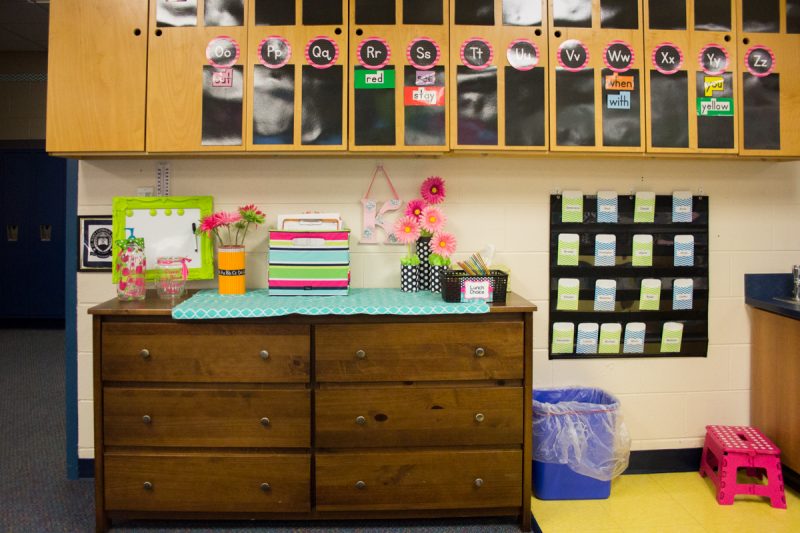
Kim used the fronts of her built-in over head cabinets to display her classroom word wall. The round Alphabet Cards are included in the Schoolgirl Style Tickle-Me-Pink Paisley decor pack.
My favorite area of any classroom is the library and Kim’s First Grade classroom library did not disappoint!
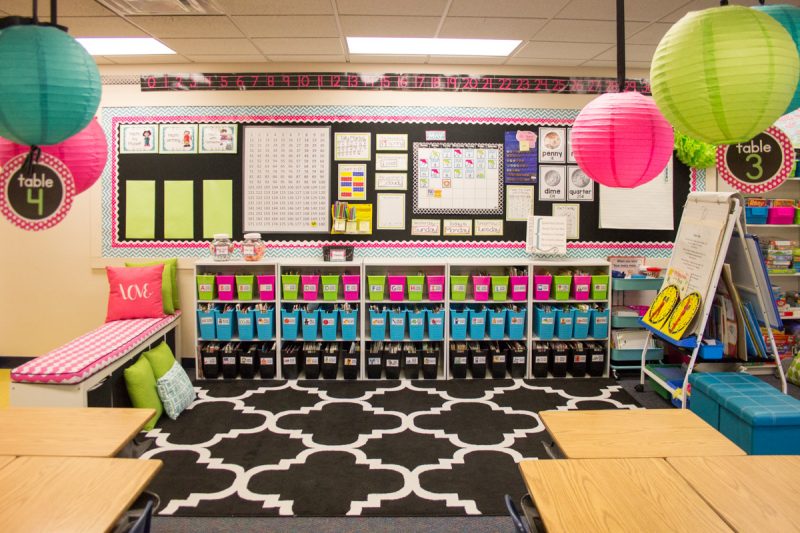
Kim has a passion for literacy and she owns more books than any other teacher I have ever met. We organized all of Kim’s leveled books in patterned pink and lime bins from Really Good Stuff (you can get them here from Amazon!) across the top shelf of her library.
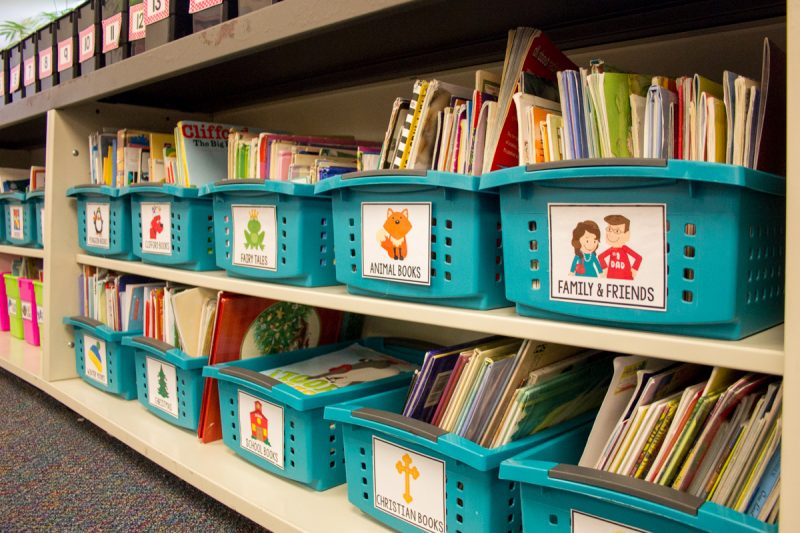
The bottom two rows hold blue and black magazine bins from Big Lots. The blue boxes hold a variety of themed and seasonal books for Kim’s students to easily access.
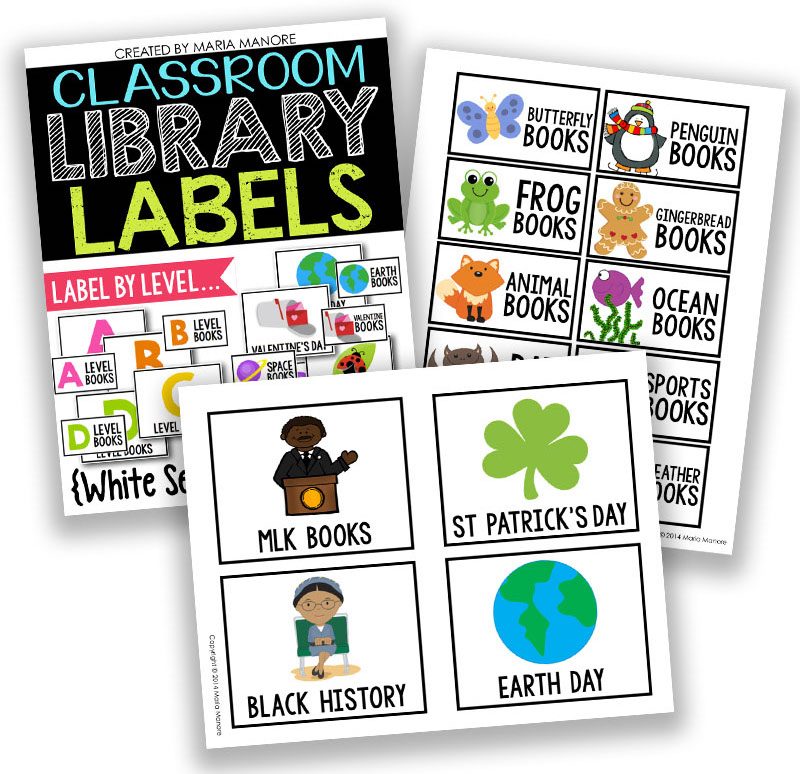
All of the bins were labeled with the White Series Classroom Library Label set from the Kinder Craze shop. We created labels for all of Kim’s favorite book character and author sets using the editable files in the pack.
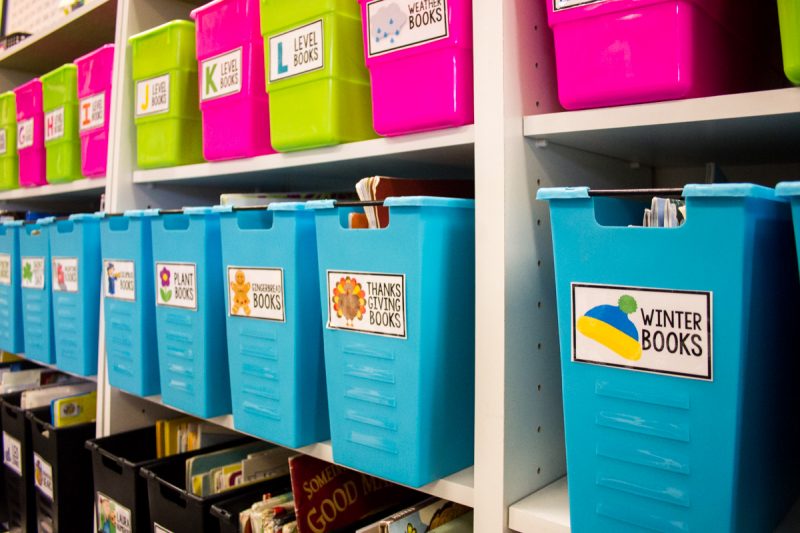
The shelves were purchased from Amazon and I think the row of five identical bookshelves really helps to anchor the space and created a perfect focal point.
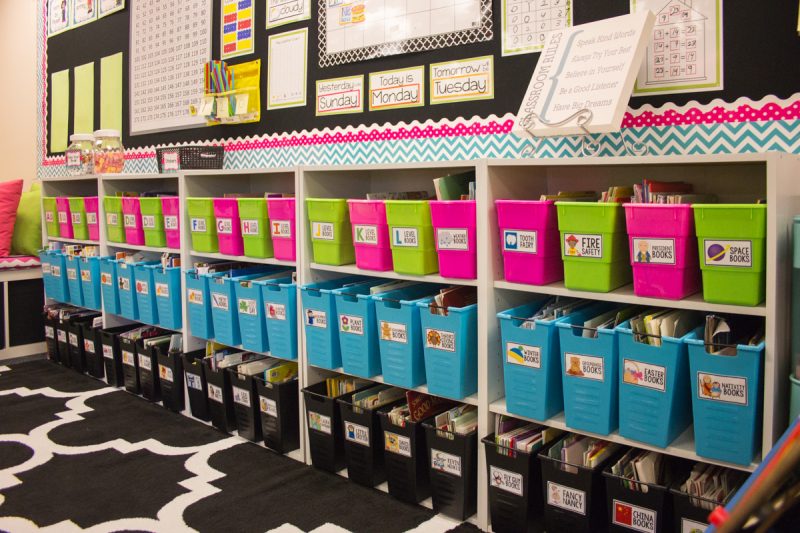
The giant black and white rug helped tremendously to define this area of her classroom and also served as a place for Kim’s students to gather during calendar time, read alouds, and classroom discussions. This particular rug is currently out of stock but I found a few similar rugs online. Click any of the rugs in the image below to start shopping!

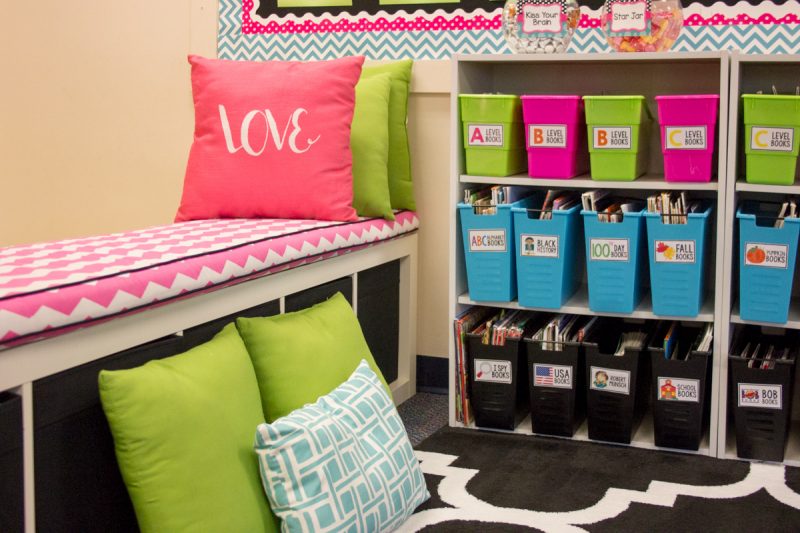
Of course, every library needs a cozy place to read. We laid a 5-cube storage shelf from Walmart on it’s side to create an easy, sturdy reading bench. The long pink cushion was a hand-me-down from my previous Rainbow Chalkboard classroom and was a perfect match for this decor. Kim already owned all of the accent pillows, which helped soften the space. The black cube bins inside bench were filled to the brim with even more books for Kim to share with her students.
Tucked away behind Kim’s easel is a tall shelf with games for indoor recess and some chapter books for her advanced readers. Kim also used this area to create a comfy reading nook – one that she could easily see from any area of the room.
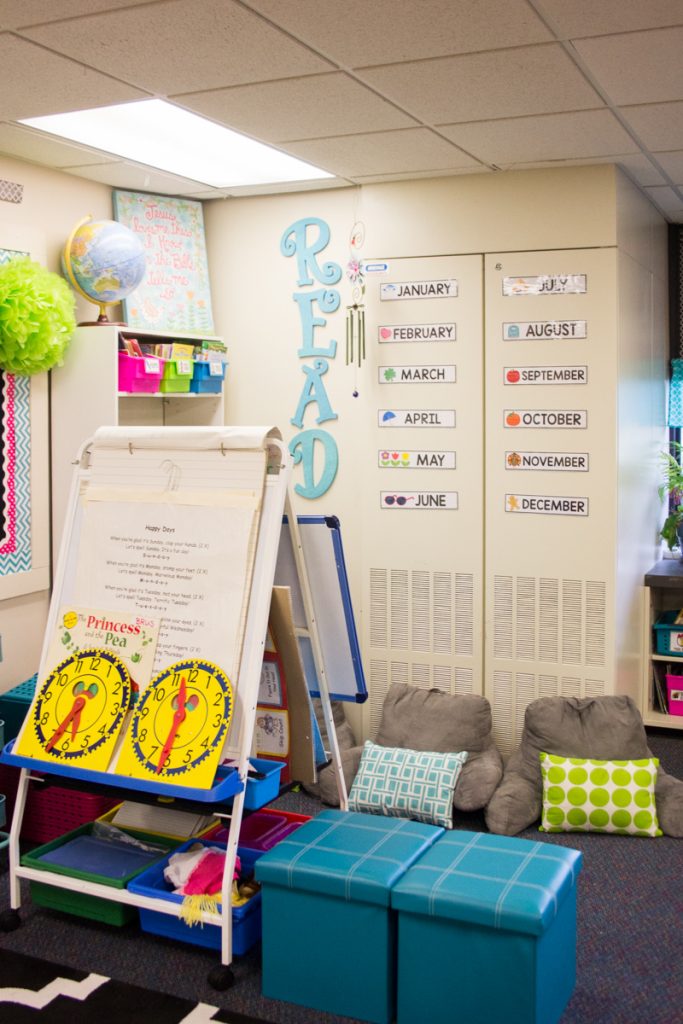
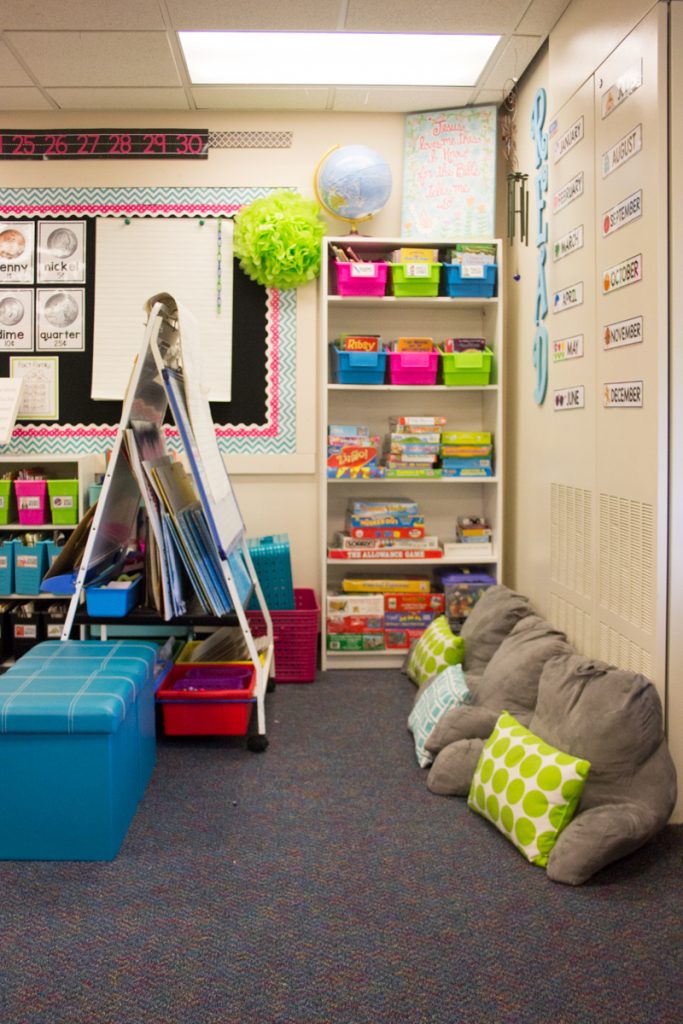
This whole space is perfect for gathering, reading, and learning. I adore how it all came together.
Remember how I mentioned that Kim owns more library books than any other teacher I know? Well, there are so many books that the library could only contain about 2/3 of the collection. The rest of the books are actually kept under the window.
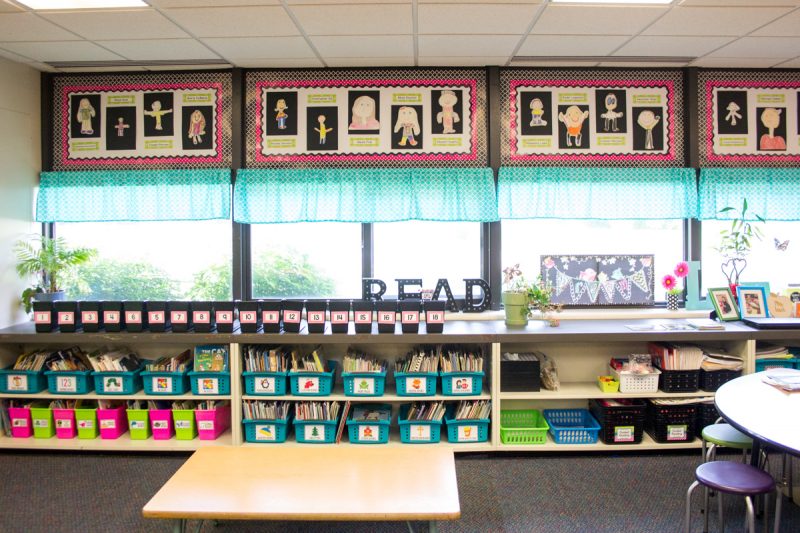
Kim owns so many books that in a few different themes that they couldn’t fit in a narrow book box. We stored the larger themes in her collection in heavy duty Sterilite bins that she already owned (these dot baskets from Big Lots are a great, super-durable option) and tucked the books away in her classroom’s built-in shelving along with a selection of additional pink and lime bins that couldn’t fit in the main library. Her students’ book boxes were numbered and lined neatly up across the top of the shelf.
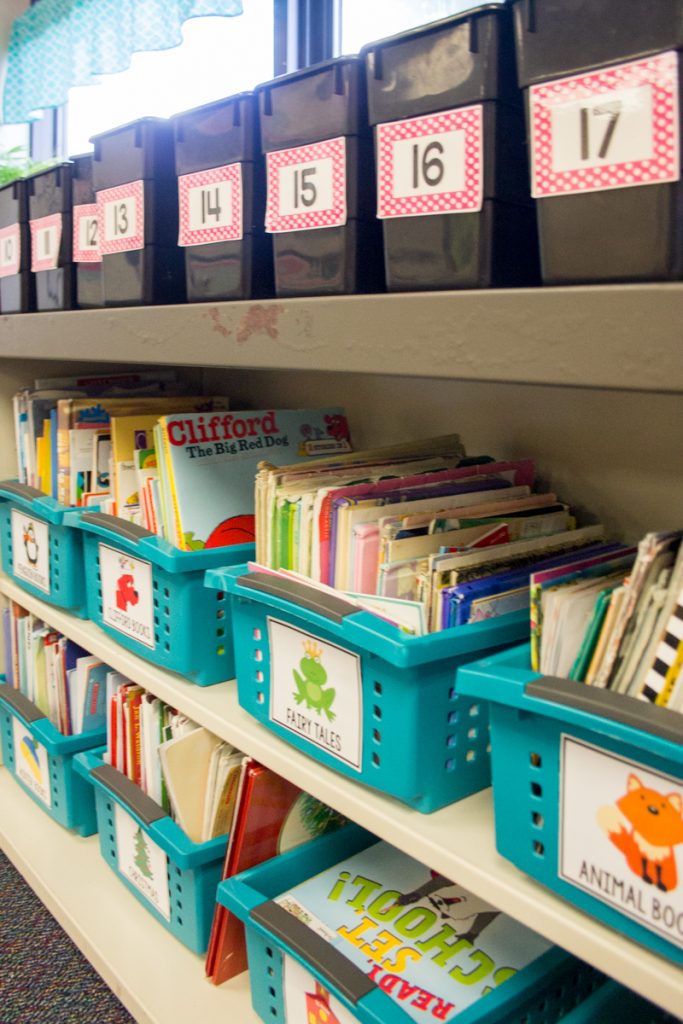
We may have separated Kim’s library books into two different areas of the classroom, but the separation was seamless and cohesive thanks to my Classroom Library Labels. Every single library bin clearly displayed the same label style to pull everything together. All of Kim’s books are tagged with coordinating stickers on each book so her students will easily know exactly where to return books after they are finished reading them.
The library labels helped keep Kim’s classroom organized and running smoothly while looking clean and clutter-free.
And there you have it! I sincerely hope that you enjoyed today’s virtual tour of this first grade classroom makeover as much as I enjoyed sharing it with you. I just wish that I had shared it with you sooner. Mrs. Lusch recently said goodbye to this wonderful school and classroom when she moved out of state with her family a few weeks ago.
Kim, I wish you all the best and I know your new classroom will be filled to the brim with love – just like this one was!
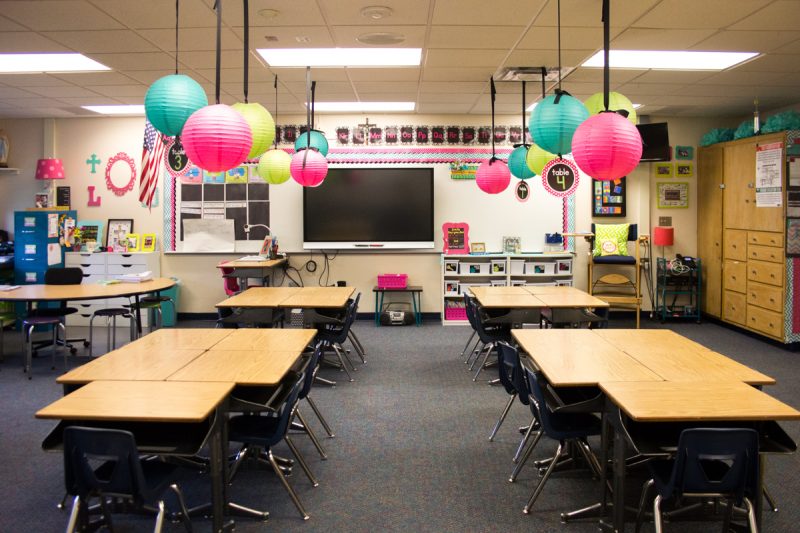
If you would like to recreate a little of the magic from Kim’s first grade classroom makeover in your own teaching space, I compiled a little shopping guide to help you get started. Click any of the images below to start filling your cart!


I’m a former kindergarten teacher turned work-from-home mom. I still love sharing ideas and resources to make teaching easier, so you can focus on what really matters in the classroom. When I’m not working on the blog, you’ll find me chasing kids around the house with a cold cup of coffee in my hand (some things never change even once you’re out of the classroom!)
©2021 Kinder Craze. All Rights Reserved.

12 Responses
A beautiful job, as always!
May i ask how can you glue something on the wall? Won’t they ruin the wall ( cracking the paint layer)?
Sorry for my bad english
Love your class
I don’t usually glue things to the wall, but I use a lot of painters tape and packing tape to make things stick
Thank you very much for your reply. Your class is amazing ?
Question, where did you get that large treasure chest that is tucked under one of your tables? Ive been looking for one. Thank you in advance!!
The hanging table labels are perfect! Where did you find those? ?
Hi Deanna, They were included in the Tickle Me Pink Paisley collection from Schoolgirl Style – https://www.teacherspayteachers.com/Product/Classroom-Decor-Tickle-Me-Pink-Paisley-Full-Collection-Bundle-1969450
Where did you find your hanging table numbers!! I absolutely love them!
They came in the printable Pink Paisley collection from Schoolgirl Style: https://www.teacherspayteachers.com/Product/Classroom-Decor-Tickle-Me-Pink-Paisley-Full-Collection-Bundle-1969450
Where did you get the penny, nickel, dime and quarter posters?
Thank you for sharing this classroom makeover. I have been looking for a cleaner way to store everyday items for my group table. I have been looking at the Alex cart, but it didn’t have very good reviews and the drawers don’t open all the way. This is a great alternative! Thanks again!